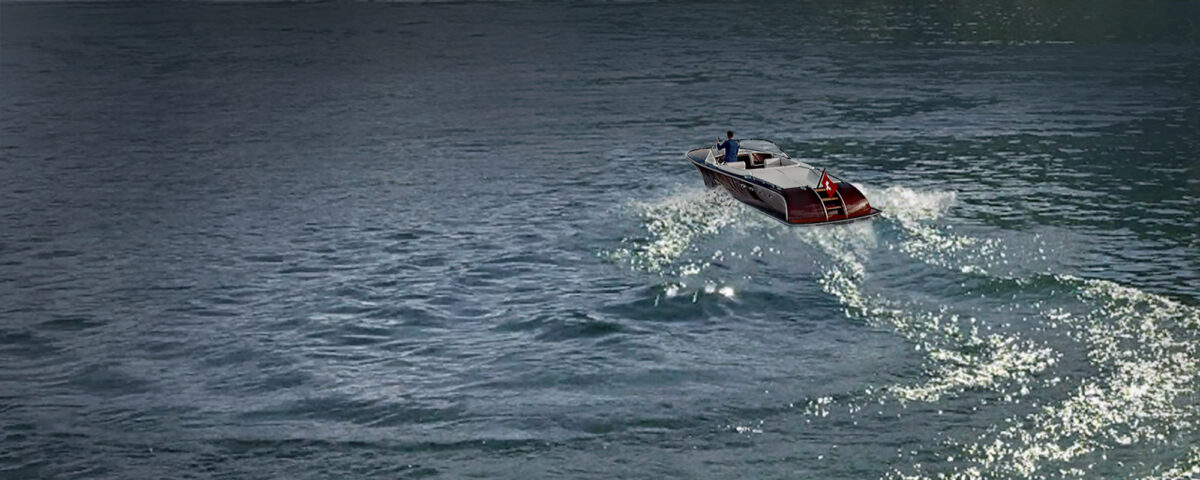
The idea of building a precious wood boat has been on our minds for a long time. Recently, my wife became enthusiastic about an Italian sports boat while on vacation. Since the original Pedrazzini Vivale Veloce slightly exceeds our budget, we decided to build the Comtesse by aero-naut together.
As one of the few remaining companies, aero-naut is still dedicated to “real” model building. Despite the increasing demand for ready-made models at low prices, the family business, now in its 4th generation, remains true to the founder’s motto—MODEL BUILDING is a top priority. In 2022, the traditional company looked back on 100 successful years.
Unfortunately, ScaleMonkey cannot boast such a long history of success yet, but we are working on it. So, let’s begin with the model building. The Comtesse kit was ordered quickly and delivered really fast.
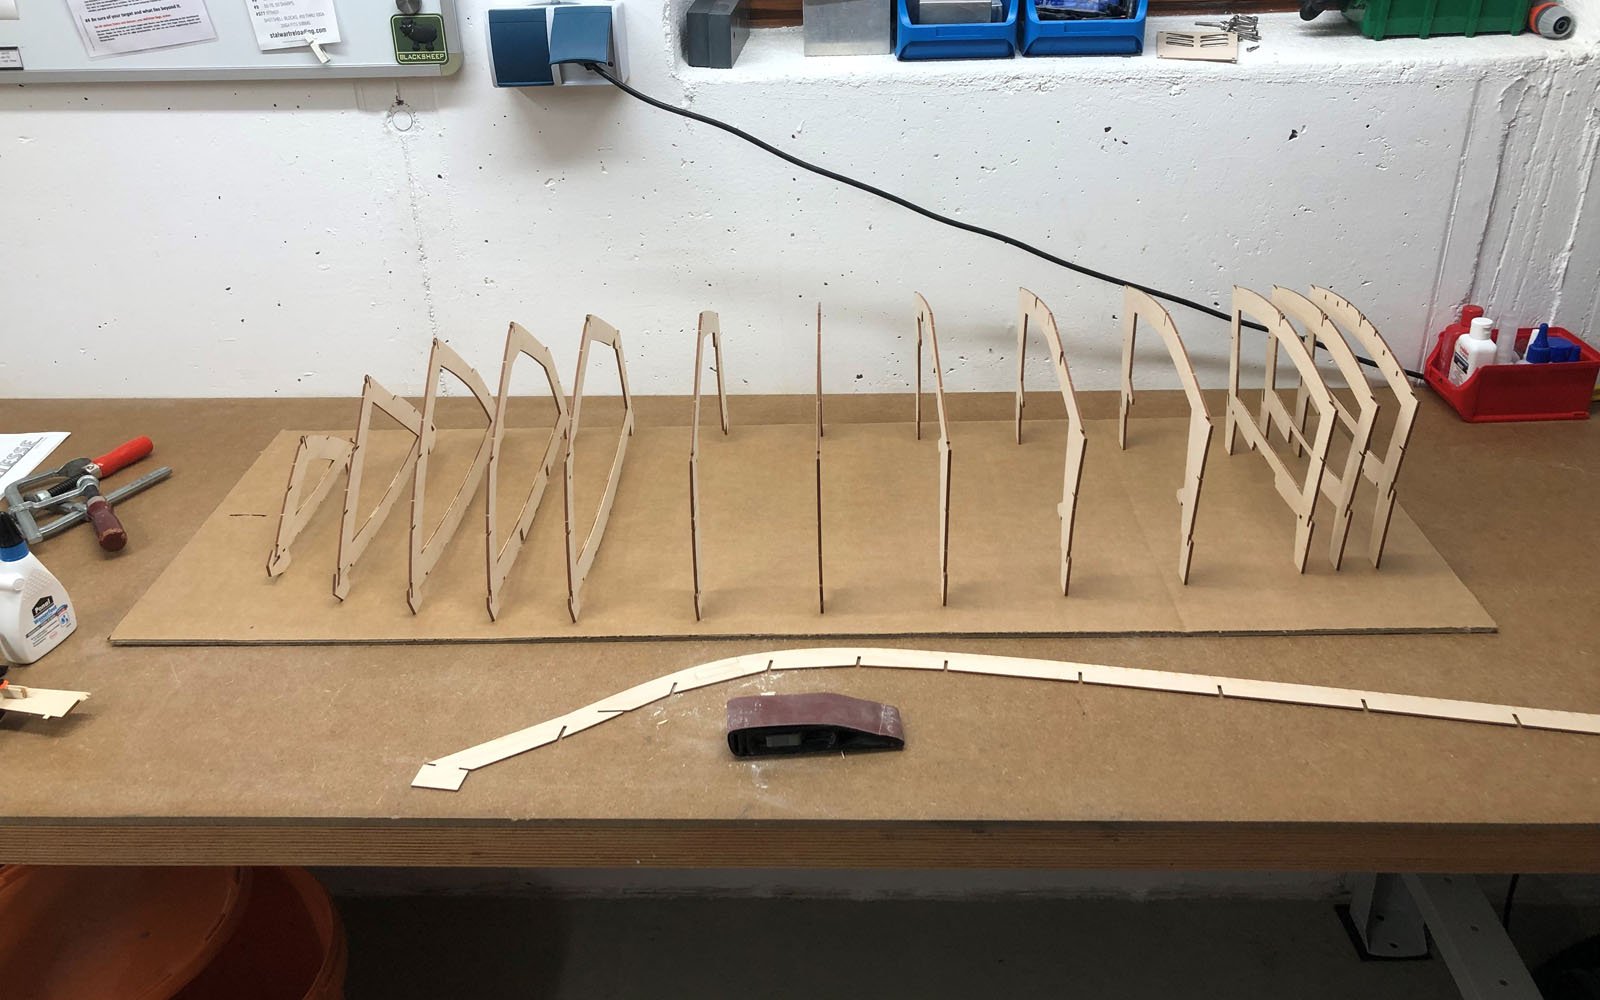
I do not like the burn marks on laser-cut kits, so the first step was to sand all the frames, stringers, and deck supports. Furthermore, we deburred all the inner edges, as it is still convenient to do so at this stage.
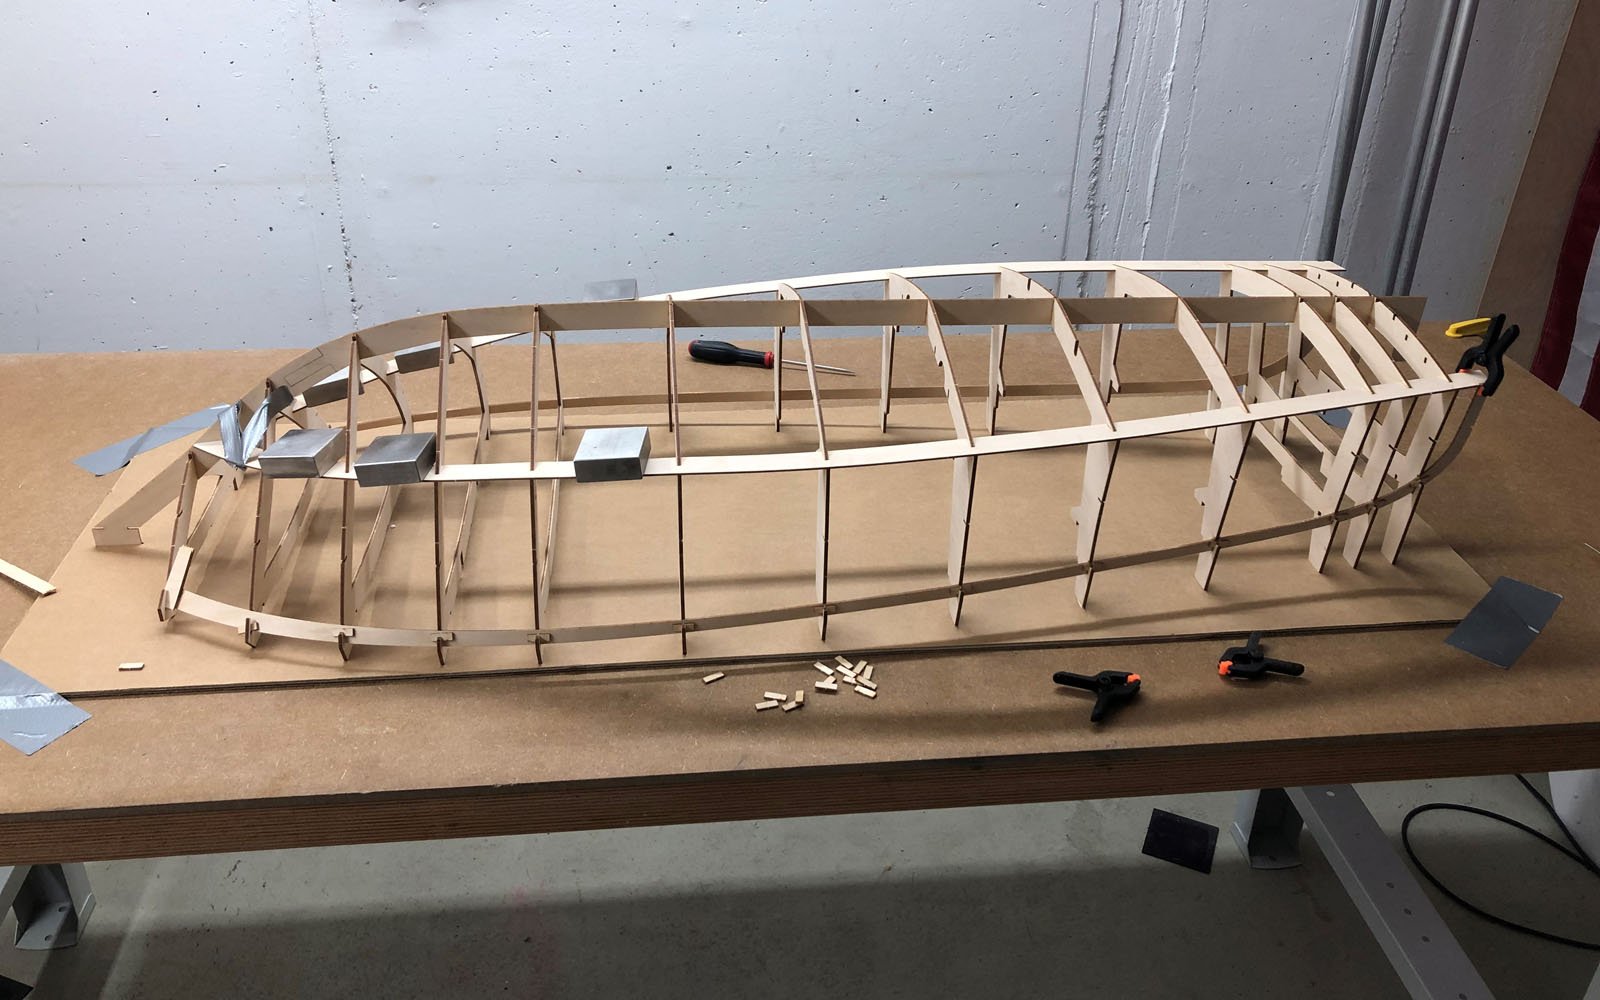
Now it was time for the assembly. The parts fit together perfectly. There was a slight inaccuracy at frame 13 to deck support 17. We fixed this with a small piece of plywood, which we used as a gusset, and then glued everything properly with wood glue.
Before installing the servo plate in the stern, it is important to fit the servo into its designated recess. This work is very difficult to carry out later. After the wood glue had dried well, we sanded the entire frame structure and also adapted the keel and the bow area to the lines of the boat.
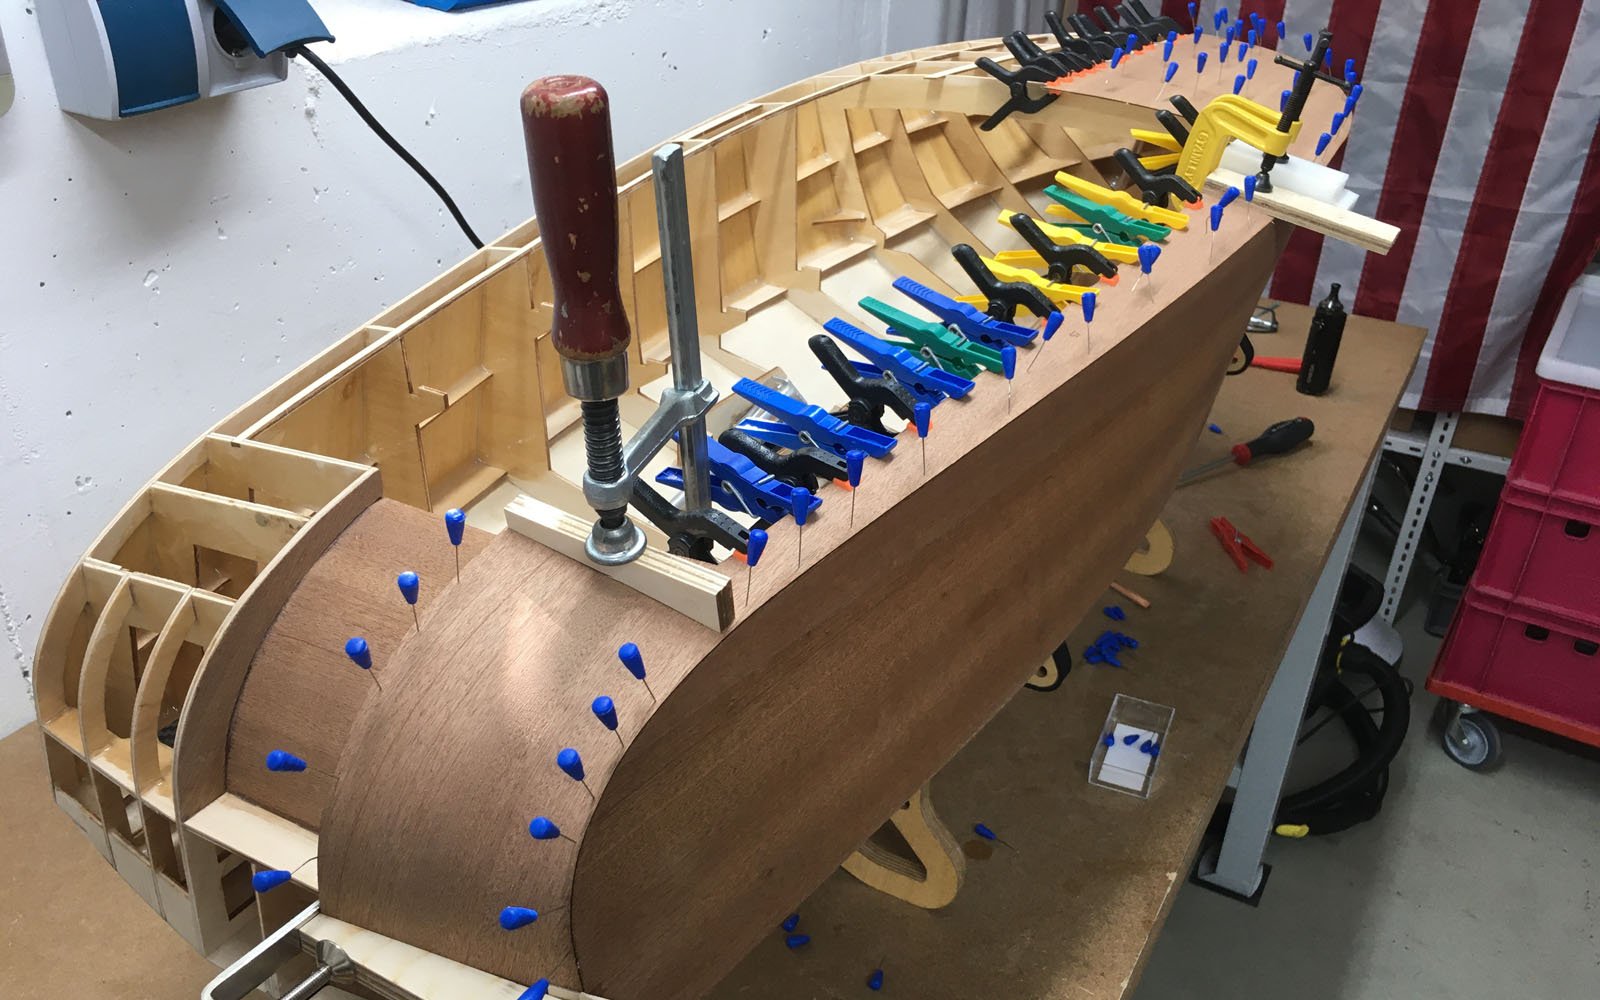
Now it is time to plank the side wall. The small retaining tabs on the frames are quite okay, but we filed them a little wider so as not to damage the very thin mahogany wood. Now we have inserted the side wall parts, aligned them exactly at the bow, and started with small dots of superglue. This work is really great to do as a pair; you wouldn’t believe how long seconds can become when you have to press a spot. So, we did this step piece by piece along the planing surface to the stern. Then the same procedure for part 17.1 and afterwards, as stated in the instructions, properly glue parts 16, 17, and 17.1 with slightly thinned wood glue.
Do not let the large screw clamps irritate you; they are not tightened. They actually only serve as a 5th, 6th, or 7th hand and only press on the side wall with their own weight.
The gluing of the side walls has cured, and we are very satisfied with the result. Now it is time for the lower hull. The shape of the parts fits the frame structure very well. To get a nice planing surface or tear-off edge for the water in the end, I sanded the plywood bottom exactly to the planing surface (part 16).
Afterwards, we applied unthinned wood glue to the frame structure and, as in the instructions, aligned and fixed the parts from the bow along the keel. On our boat, the parts also rest optimally on the structure; there is only a small gap at frames 9, 10, and 11. We did not press these down, but filled them with thickened epoxy resin.
For such work, we always use R&G epoxy resin L and hardener L, along with cotton flocks or thixotropic agents as needed. This is not the fastest resin, but it penetrates deep into the wood and has excellent strength, as well as elasticity.
But let’s look at it this way… In model building, speed (during construction, of course) does NOT matter; it is a hobby, and the result is what counts.
Yes, as briefly mentioned in the previous post, our preferred resin system is not exactly the fastest. Thus, gluing the individual frames and the inside of the hull with viscous resin is a bit time-consuming. But this also has its advantage; you discover a few things that are not optimally solved. But more on that later…
Before we put the boat in the most impossible positions for the resin to cure, we naturally always took care of small details to move the build forward a bit. This is how the framework for the deck superstructure was created, and the rear staircase was glued in. Over the next few days, we then shaped it—“what a sanding effort.” But for now, we are very satisfied with the result.
Now that we have spent days coating the inside of our boat with thick resin, there is plenty of time for smaller jobs on the side. So we have already reinforced the transom and milled some of the required recesses.
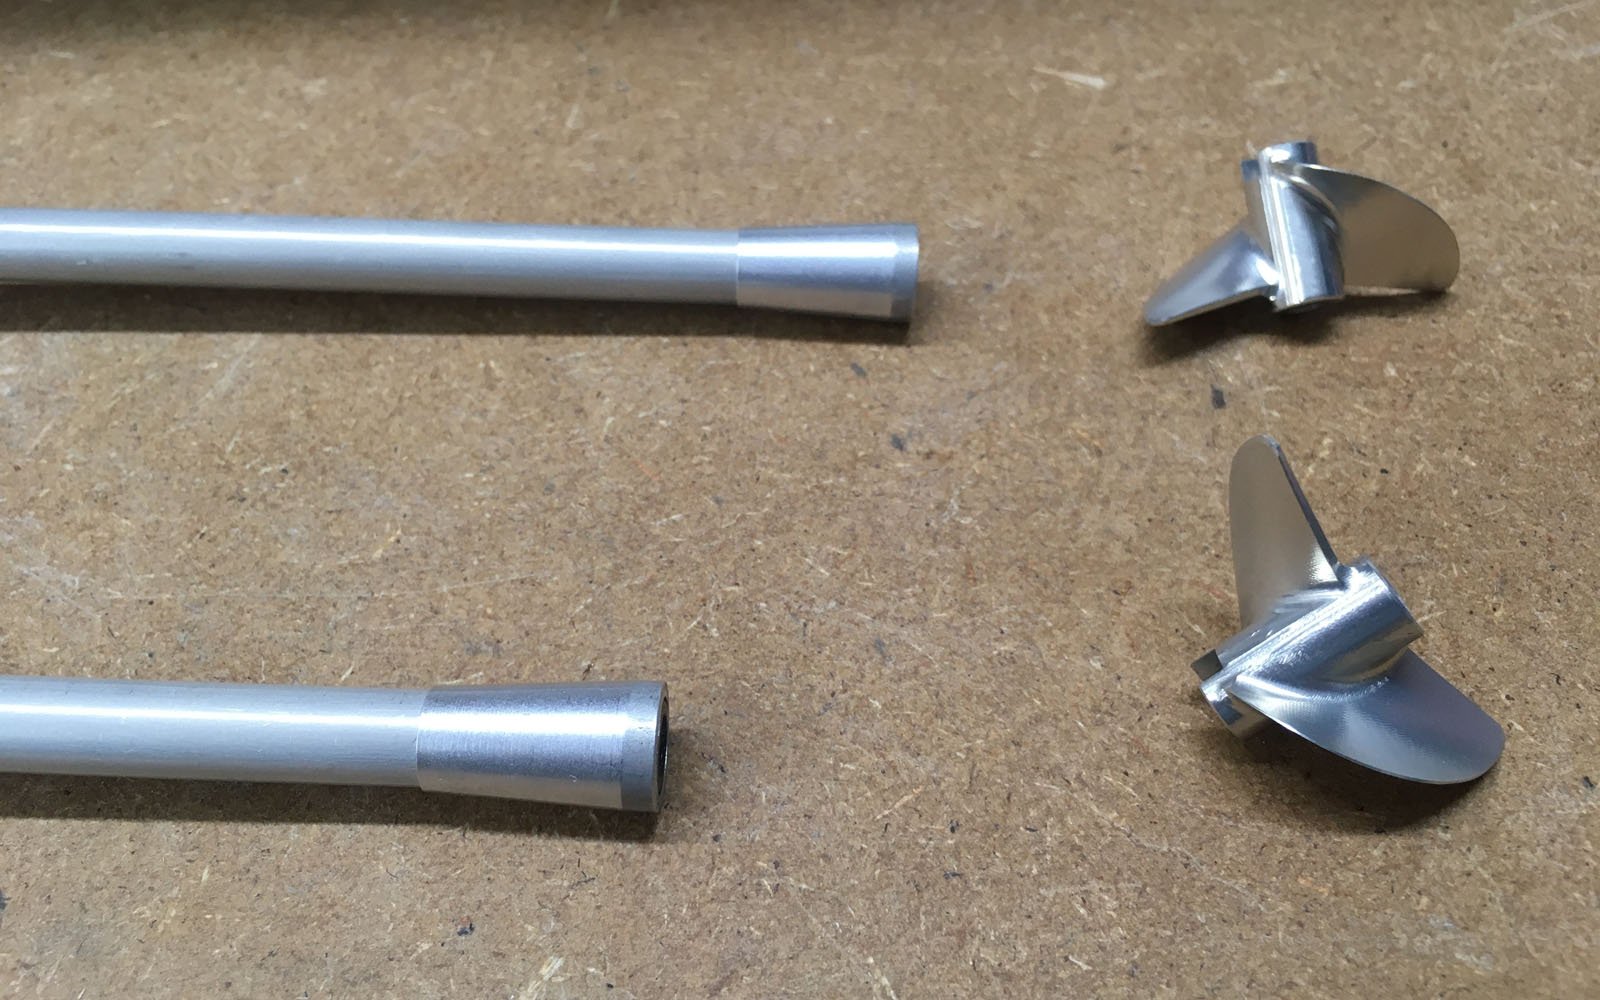
So, now to the drive. The original from aero-naut “well” might work, but it is not really what we envision for our boat. We wouldn’t be ScaleMonkey if we didn’t go one better in terms of technology, and that is exactly why we decided on the Gundert shaft system. These are rigidly connected to the motors, which guarantees perfect concentricity and thus low-vibration rotation of the shafts. For the drives, I made a carbon motor mount with special mounts, so they can be easily installed and removed later. It was quite a puzzle to get all the angles right, but it fits.
The shafts of our system are 5 mm thick and supported by plain and ball bearings. For the propeller mount, we use a 3/16 DogDrive.
Similar changes are also being made to the rudder system, because a 3 mm brass shaft… that cannot really work. Here I am using a 5 mm shaft with a stainless steel blade. This combination should also withstand more agile cornering well.
Our rudder system is designed for very powerful servos, such as the KST BLS 359 WP or the KST CM3510MG V6.0. These two servos from KST are waterproof and have an output of 28 kgf.cm and 35 kgf.cm, respectively. For this reason, we decided to reinforce the original servo board from aero-naut so that it does not twist. For this purpose, a carbon overlay was milled, which is glued to the original board. You can purchase this servo board as well as the rudder system in our shop.
The installation of the servo board should, if possible, be done before planking the deck, so there is enough space to drill the holes for the new rudder trunks. However, it is also possible afterwards with a little extra effort. When gluing the rudder trunks into the hull, we also resined in the cooling water inlets for the speed controllers at the same time.
Now that all the work on the hull is largely finished, we can finally start on the deck. We glued the first and second layers of mahogany veneer to the frame structure with wood glue, as described by aero-naut. The only deviation is that we did not coat anything with sanding sealer. Since the entire boat will subsequently be coated with Miposeal, this is not necessary, and the gluing holds better. After the wood glue had cured, the second layer was already sealed with Miposeal, as we want to glue on the third layer of mahogany with resin. In my opinion, this is necessary because the inlays are to be glued in with 2-component adhesive, and you additionally get a, how should I say, leveling layer.
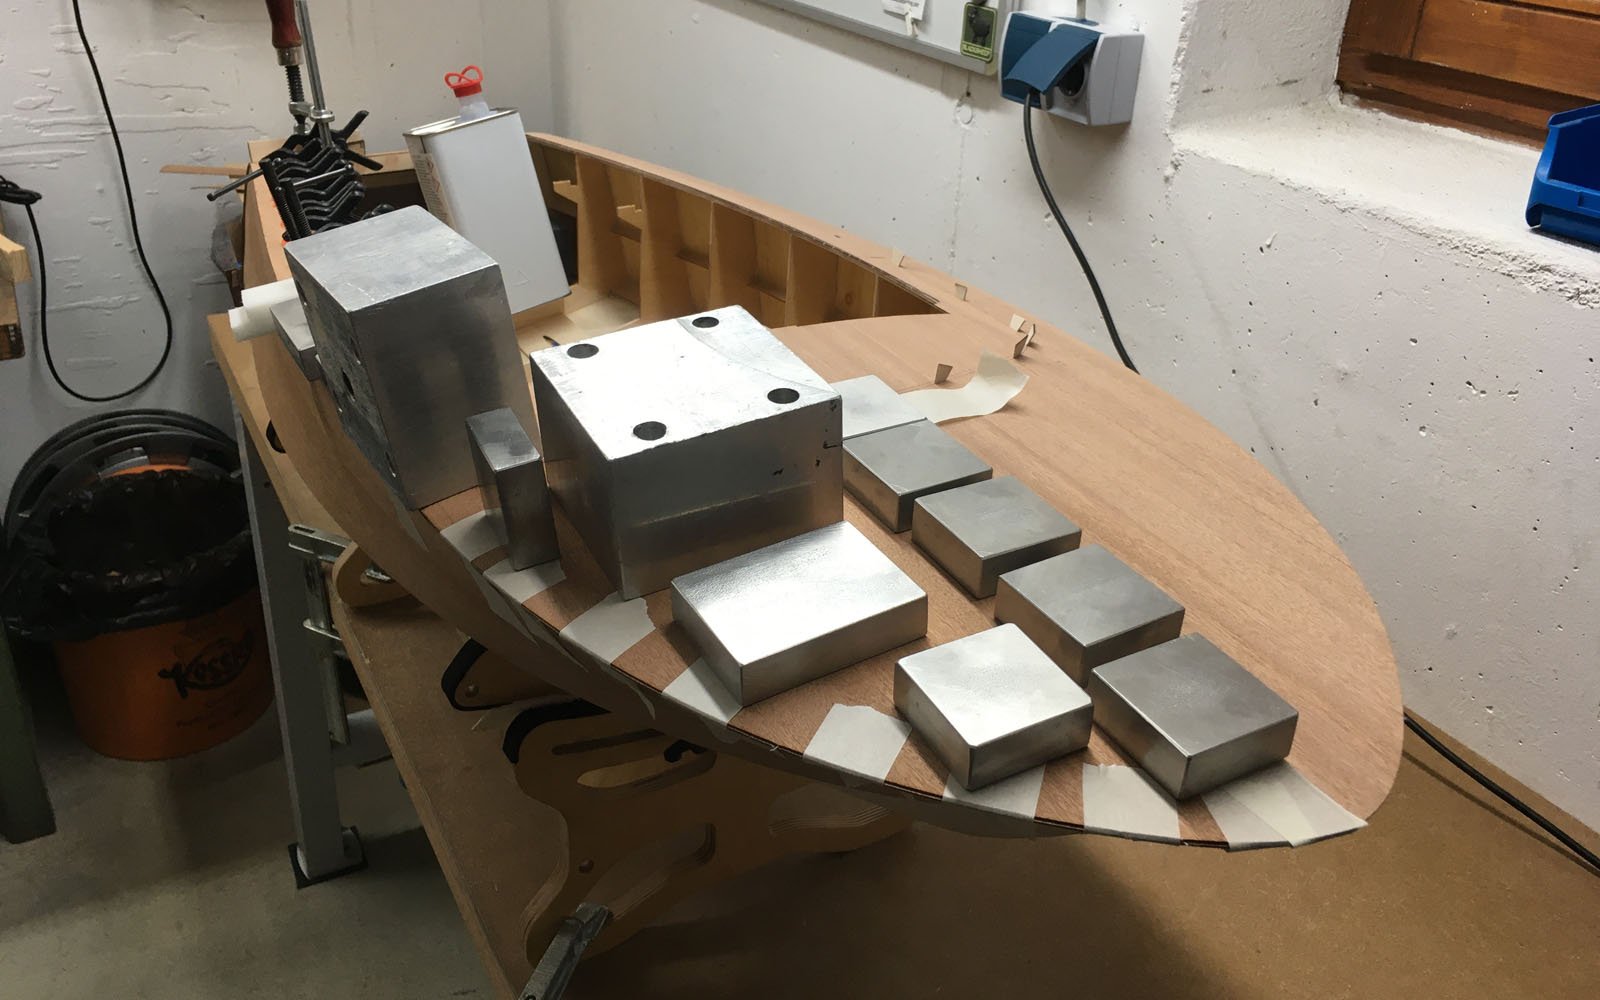
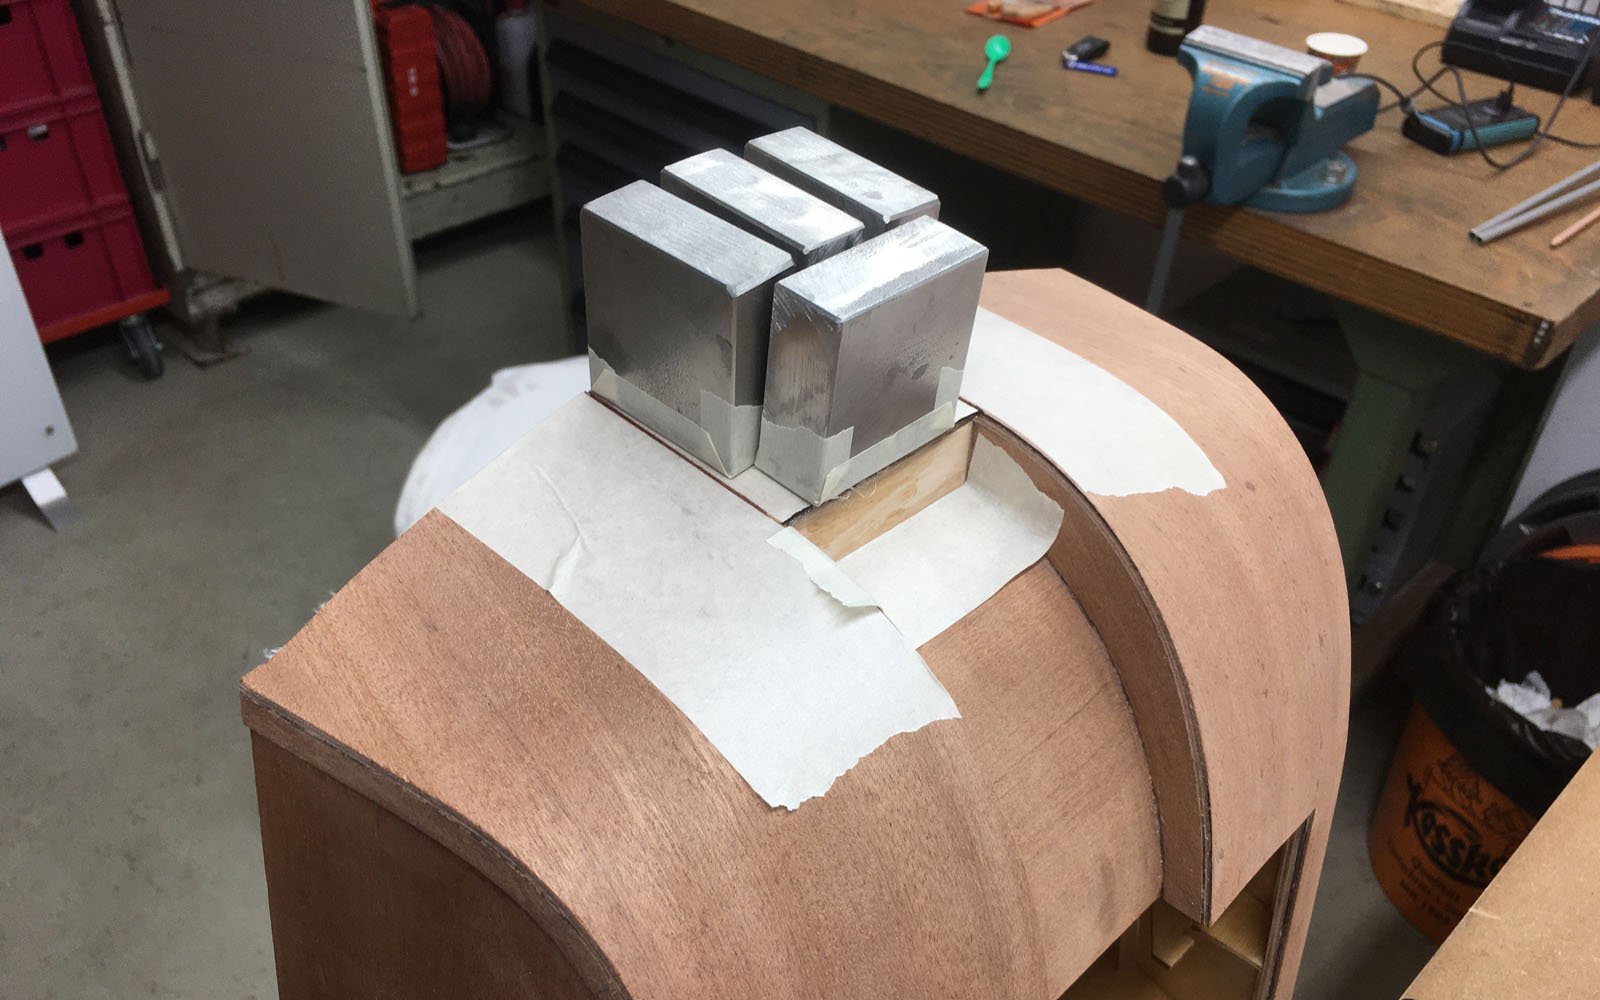
As described by aero-naut, we inserted the inlays into the top layer and glued them on the underside with 2-component adhesive (our resin). Since the whole thing should ultimately be nice and flat, we placed cling film on top and weighed it down properly with weights to cure. We let this dry for a good day and then, as already mentioned, glued it onto the second layer with resin. With a great result, we think.
We also want to plank the transom in three layers; there is enough mahogany material left over. For this purpose, the frame structure was doubled up, and then the remaining part in the stern was closed in the same way as the deck.
Now only the rub rails on the bow area and the side rails had to be glued, and we can sand the entire boat and seal it with our HT 2 epoxy resin.
 Canada / English


 Austria
 Belgium
 Bulgaria
 Croatia
 Czech Republic
 Denmark
 Estonia
 Finland
 France
 Germany
 Greece
 Hungary
 Italy
Italy
 Netherlands
 Norway
 Poland
 Portugal
 Romania
 Russia
 Serbia
 Slovakia
 Slovenia
 Spain
Spain
 Sweden
 Switzerland








Has your interest been sparked? Then go here for: Part 2