 Australia / English


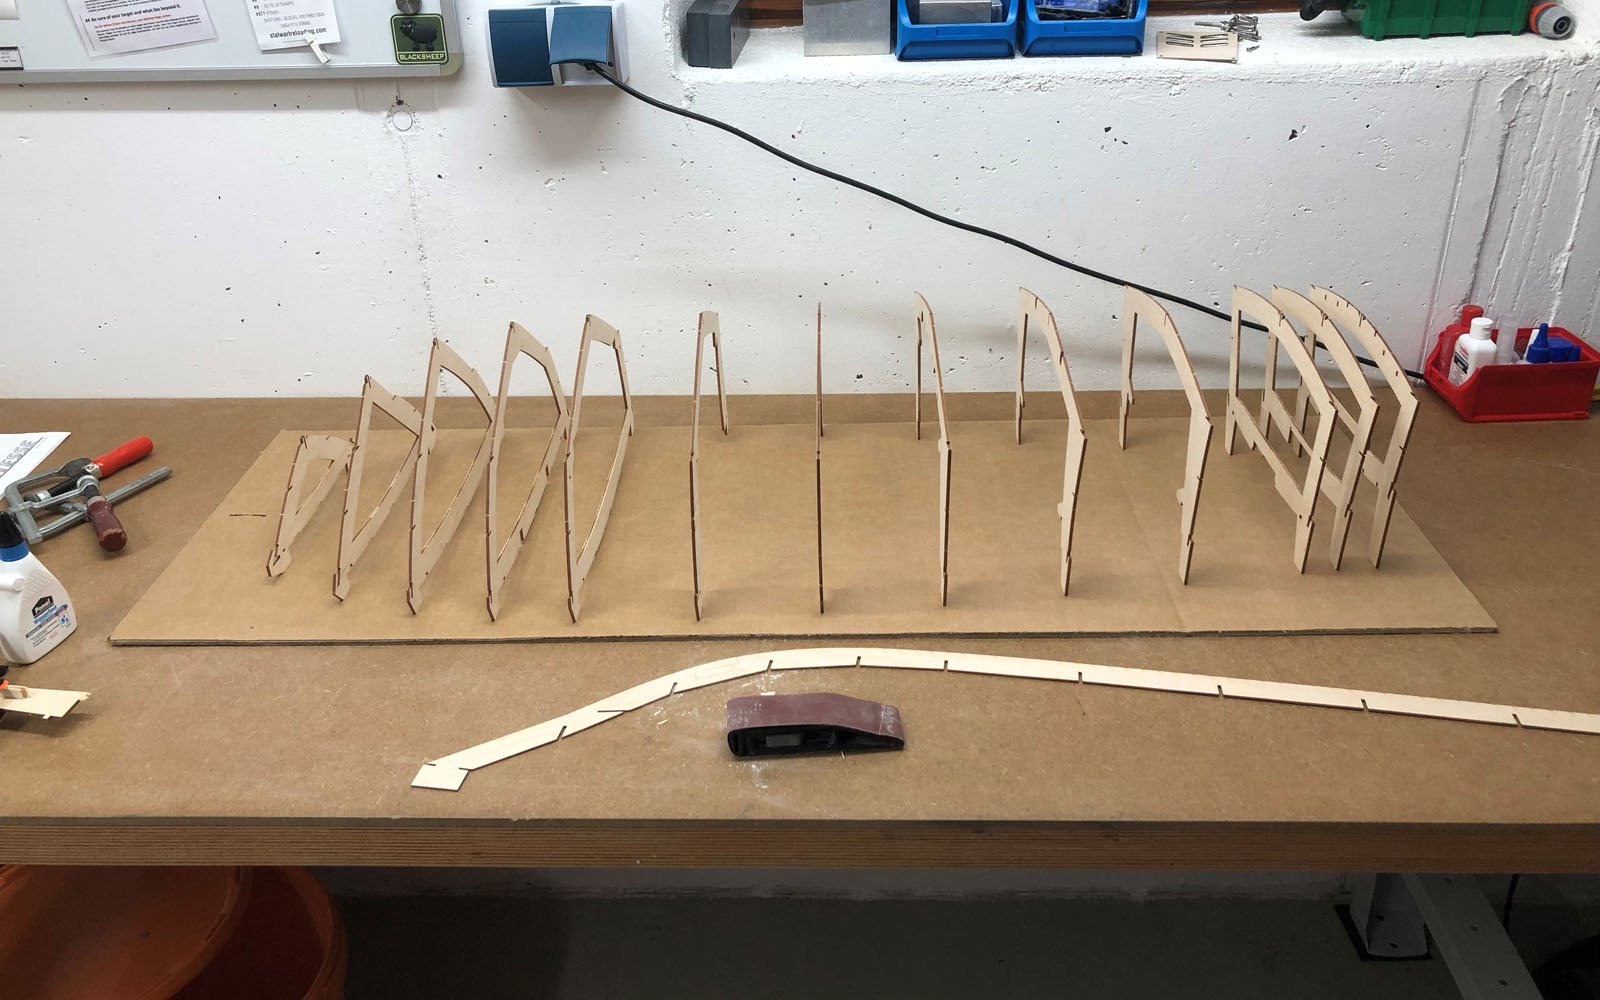
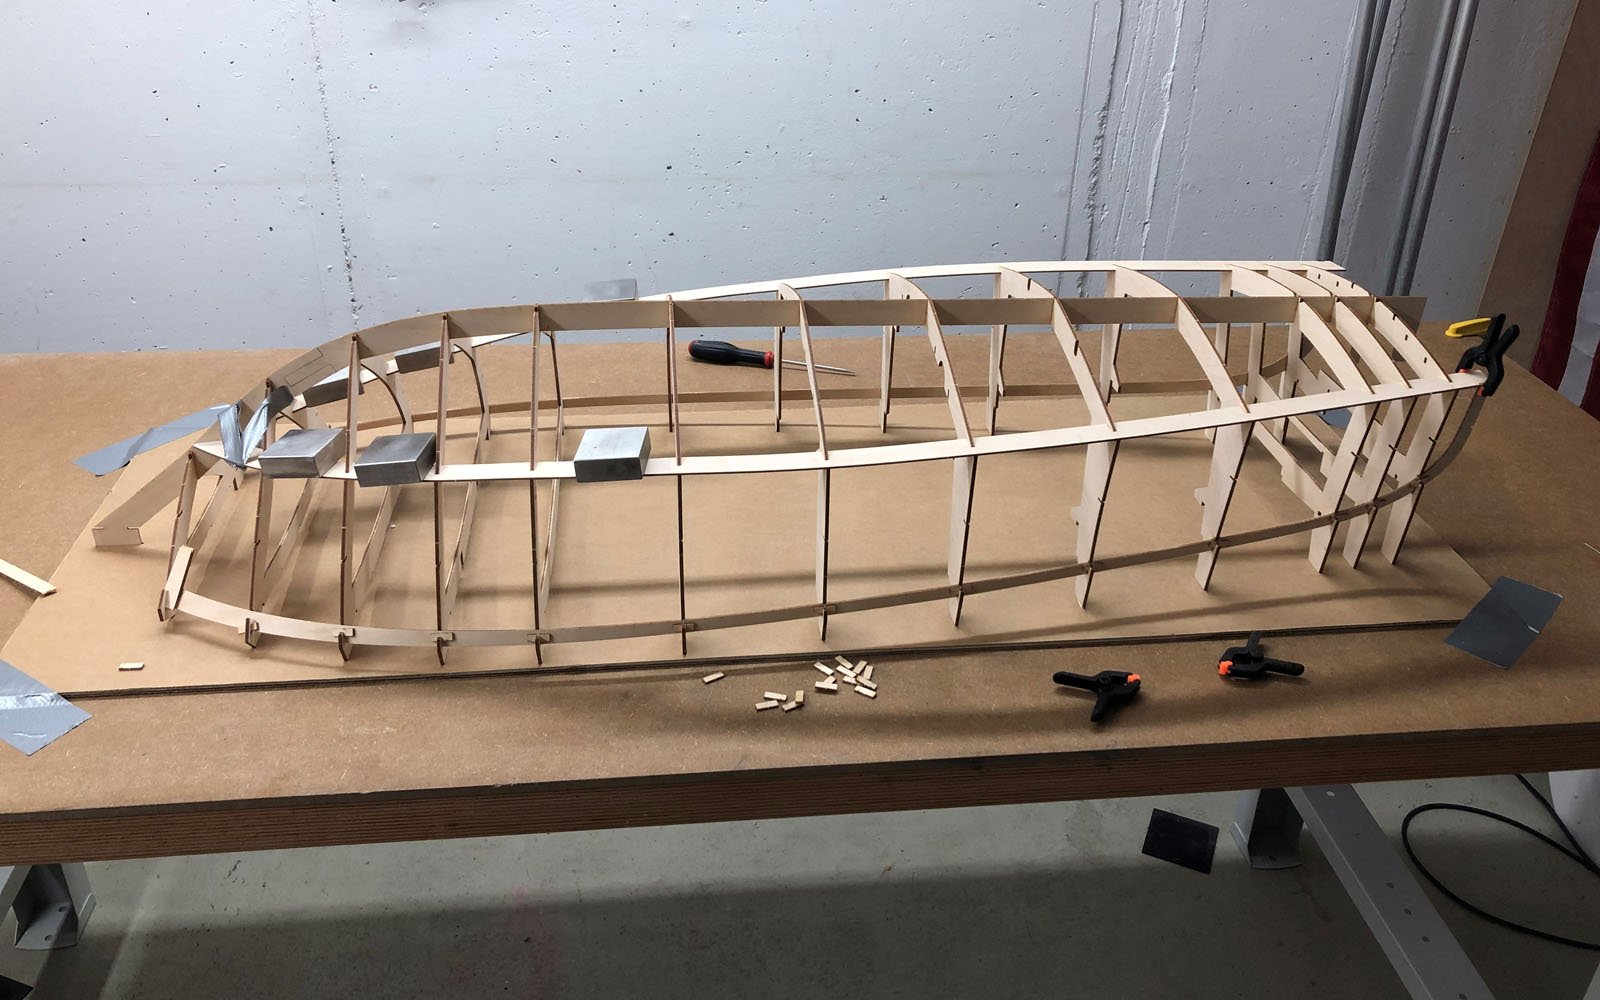
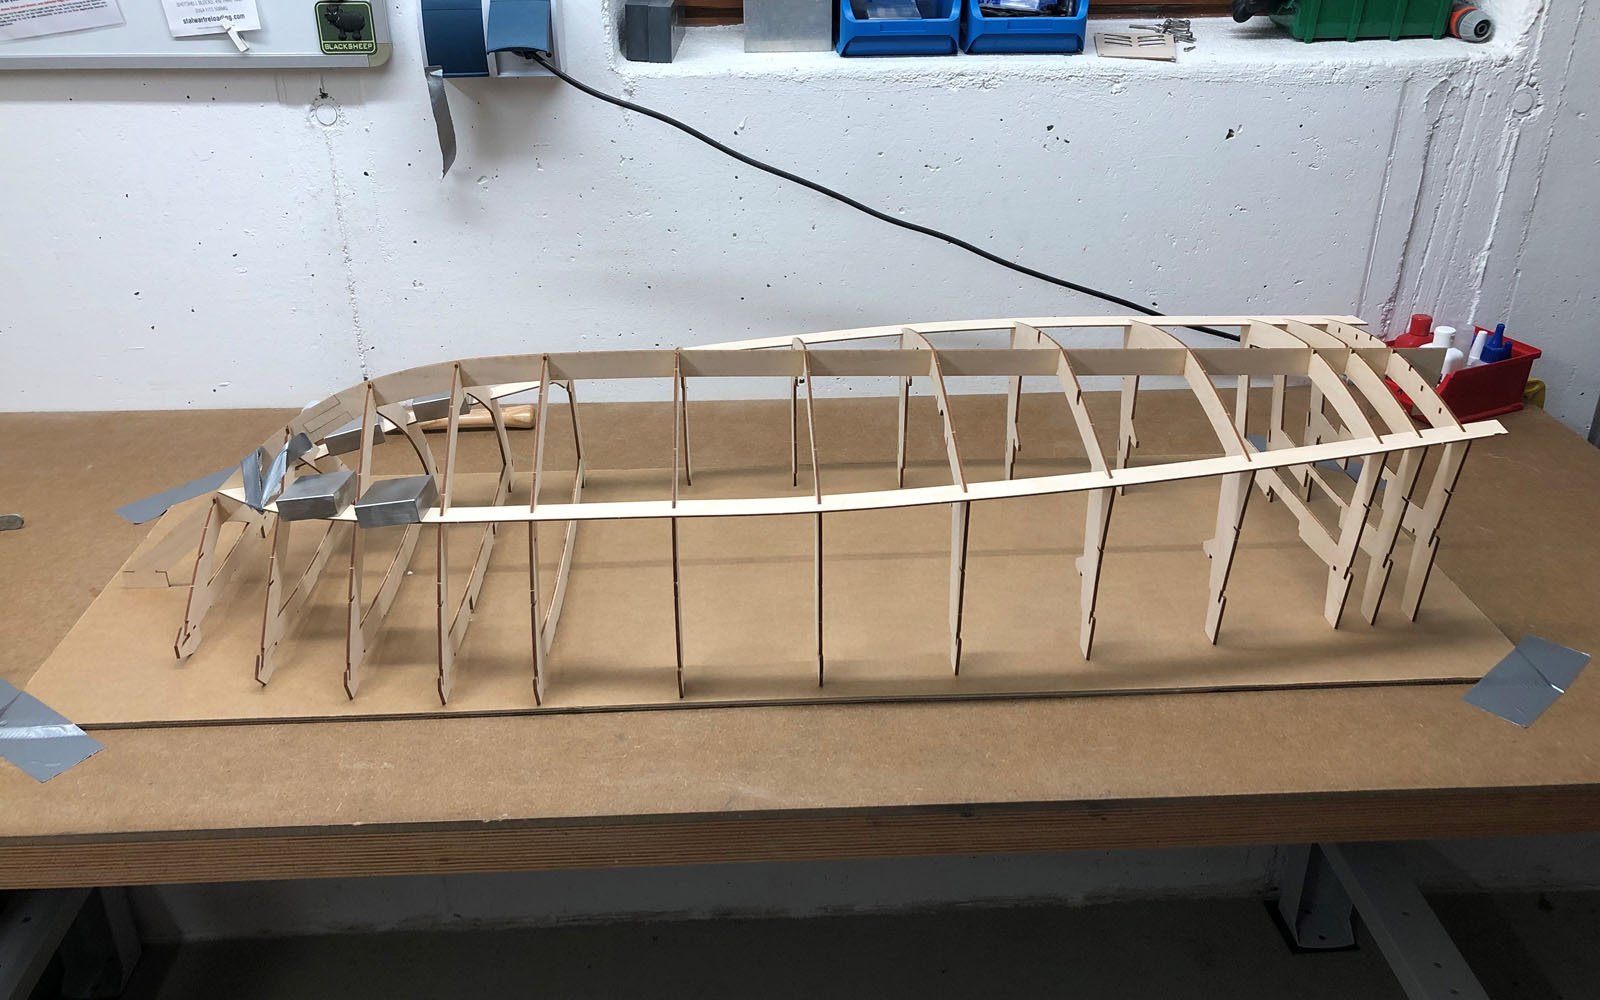
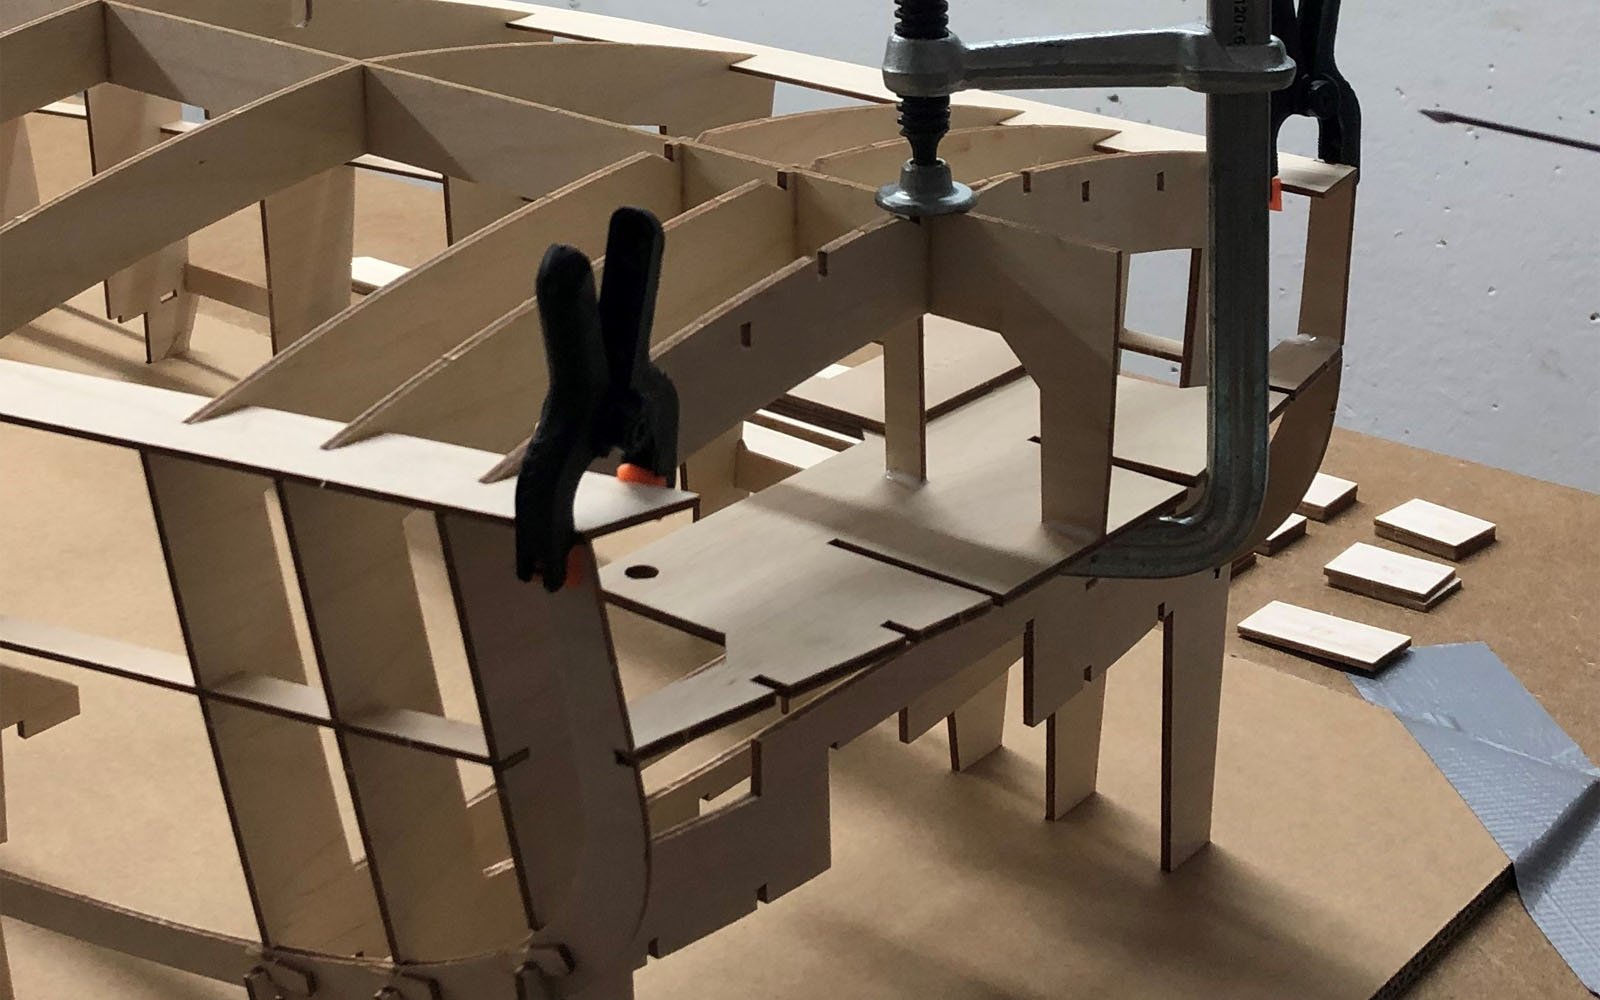
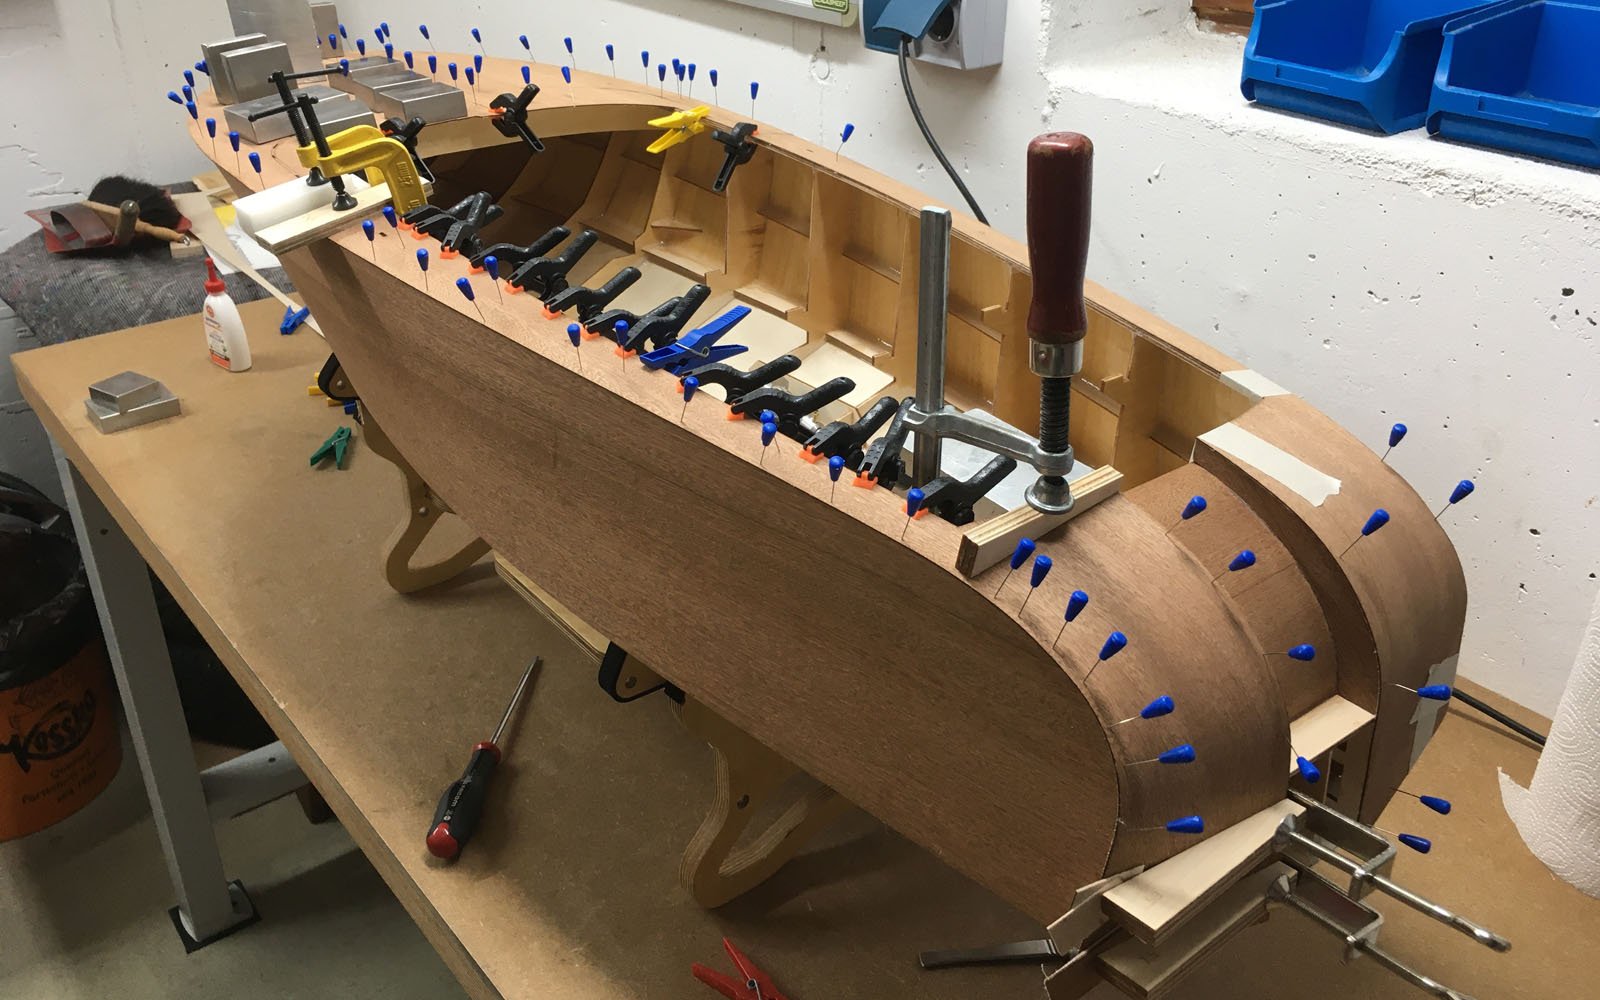
For a long time, we’d been toying with the idea of building a fine timber boat. Now, while on holiday, my wife took a liking to an Italian sports boat. As the Pedrazzini Vivale Veloce in its original form is a little beyond our budget, we decided to build the Comtesse by aero-naut together.
As one of the few companies, aero-naut is still committed to “real” model making. Despite rising demand for ready-to-run models at low prices, the family business—now in its 4th generation—remains true to the founder’s motto: MODEL MAKING is written in “capital letters”. In 2022, this traditional company celebrated 100 successful years.
ScaleMonkey unfortunately can’t yet point to such a long success story, but we’re working on it. So, let’s get started with the model build. The Comtesse kit was ordered quickly and delivered just as fast.
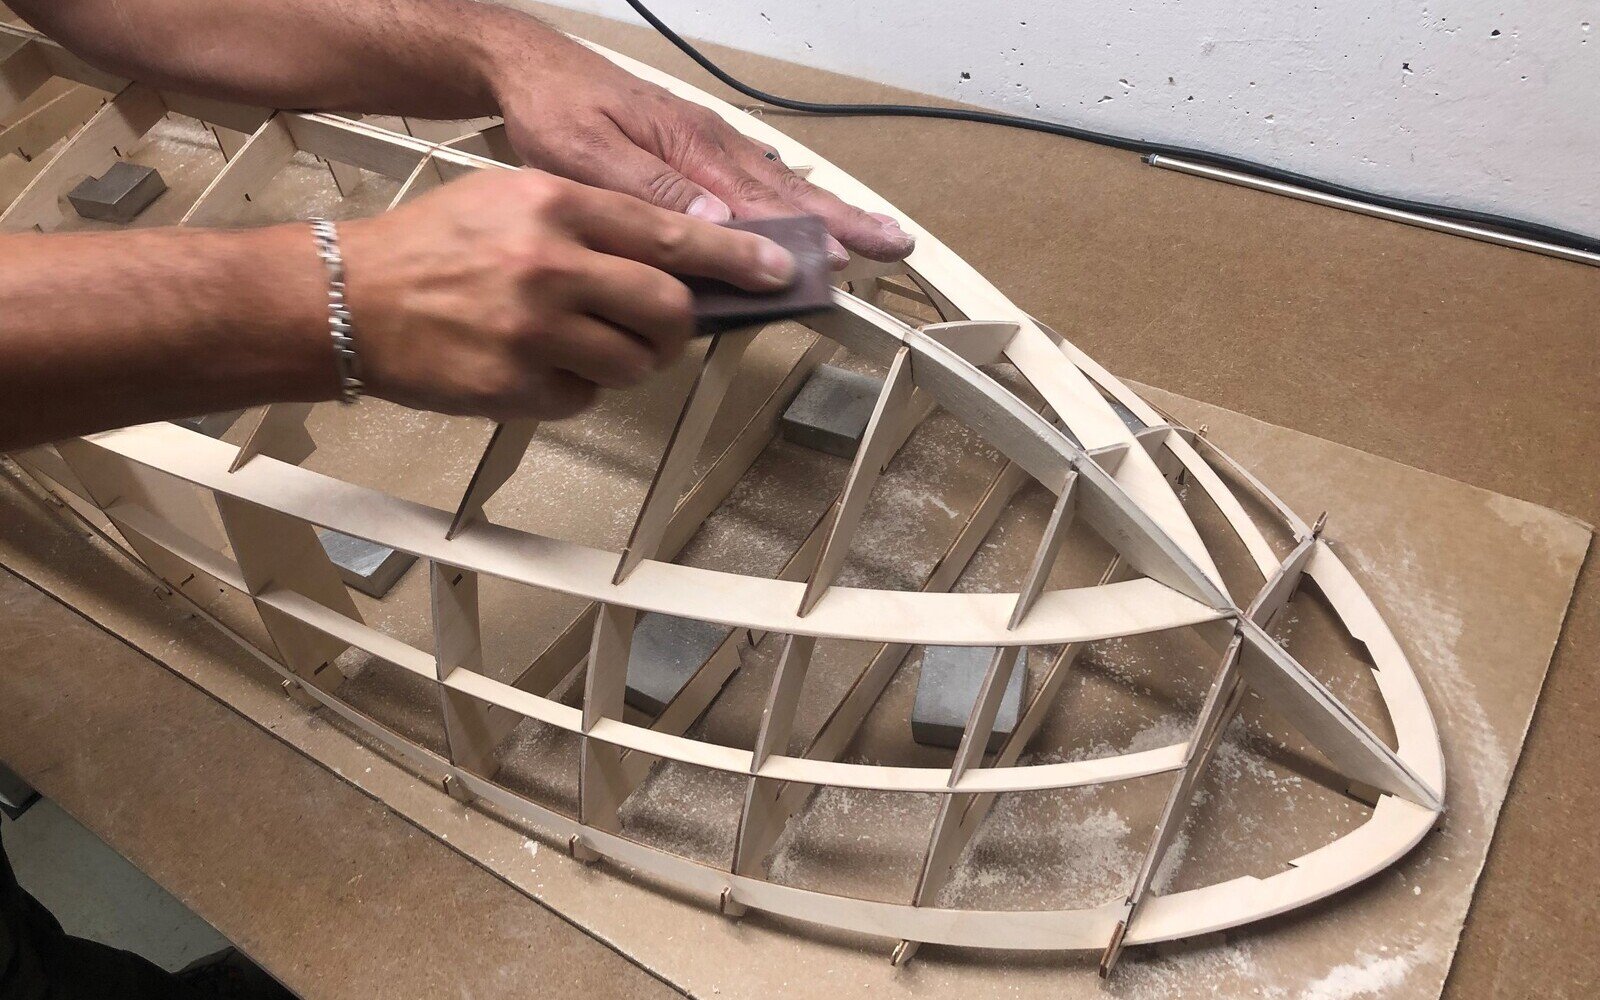
I don’t like the scorch marks on laser-cut kits, so the first step was sanding all frames, stringers and deck supports. We also deburred all inner edges, as it’s still easy to do at this stage.
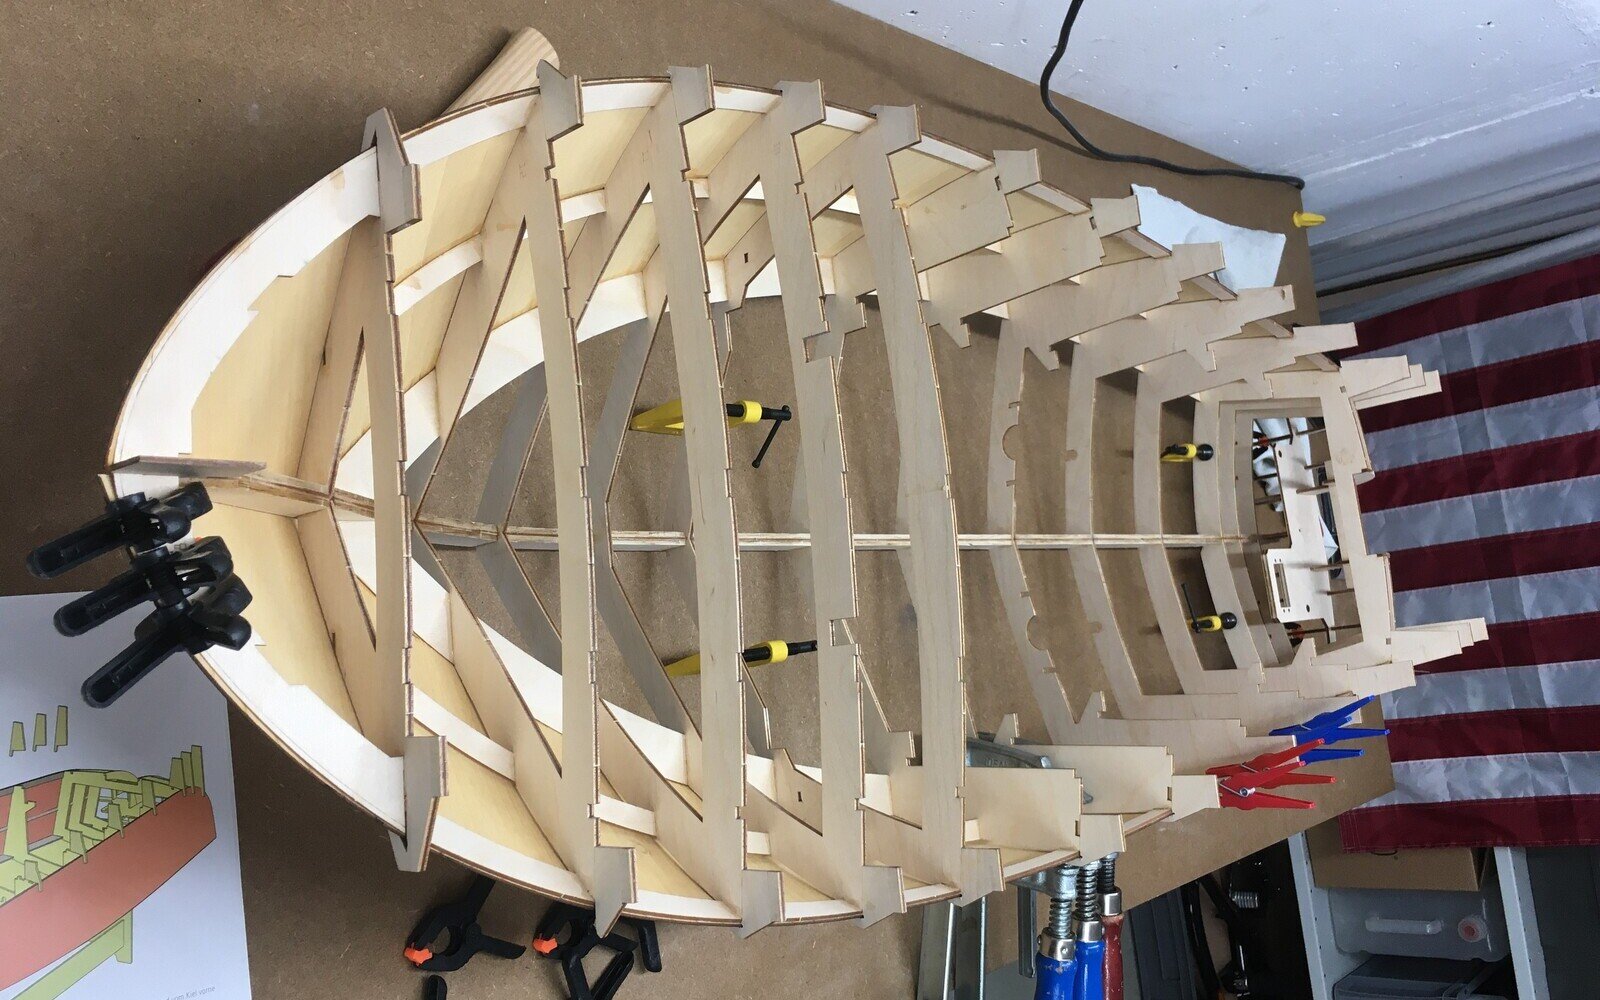
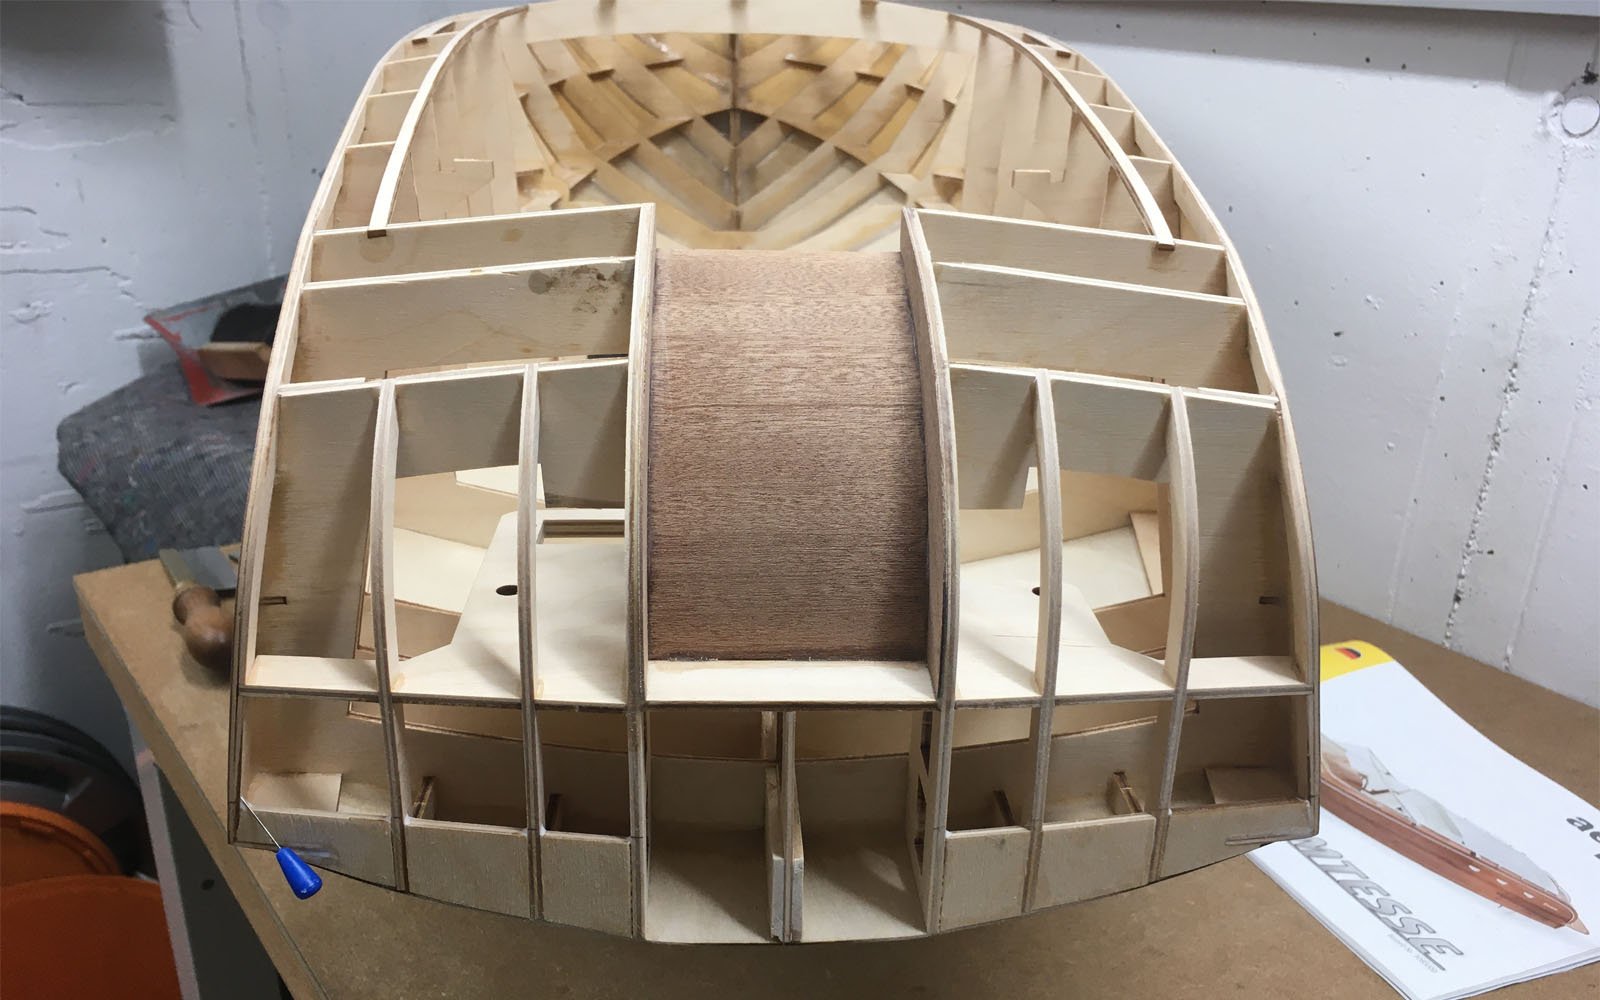
Then it was straight on to assembly. The parts fit together exceptionally well. There was a small inaccuracy at frame 13 in relation to deck support 17. We fixed this with a small piece of plywood used as a gusset, and then glued everything neatly with PVA wood glue.
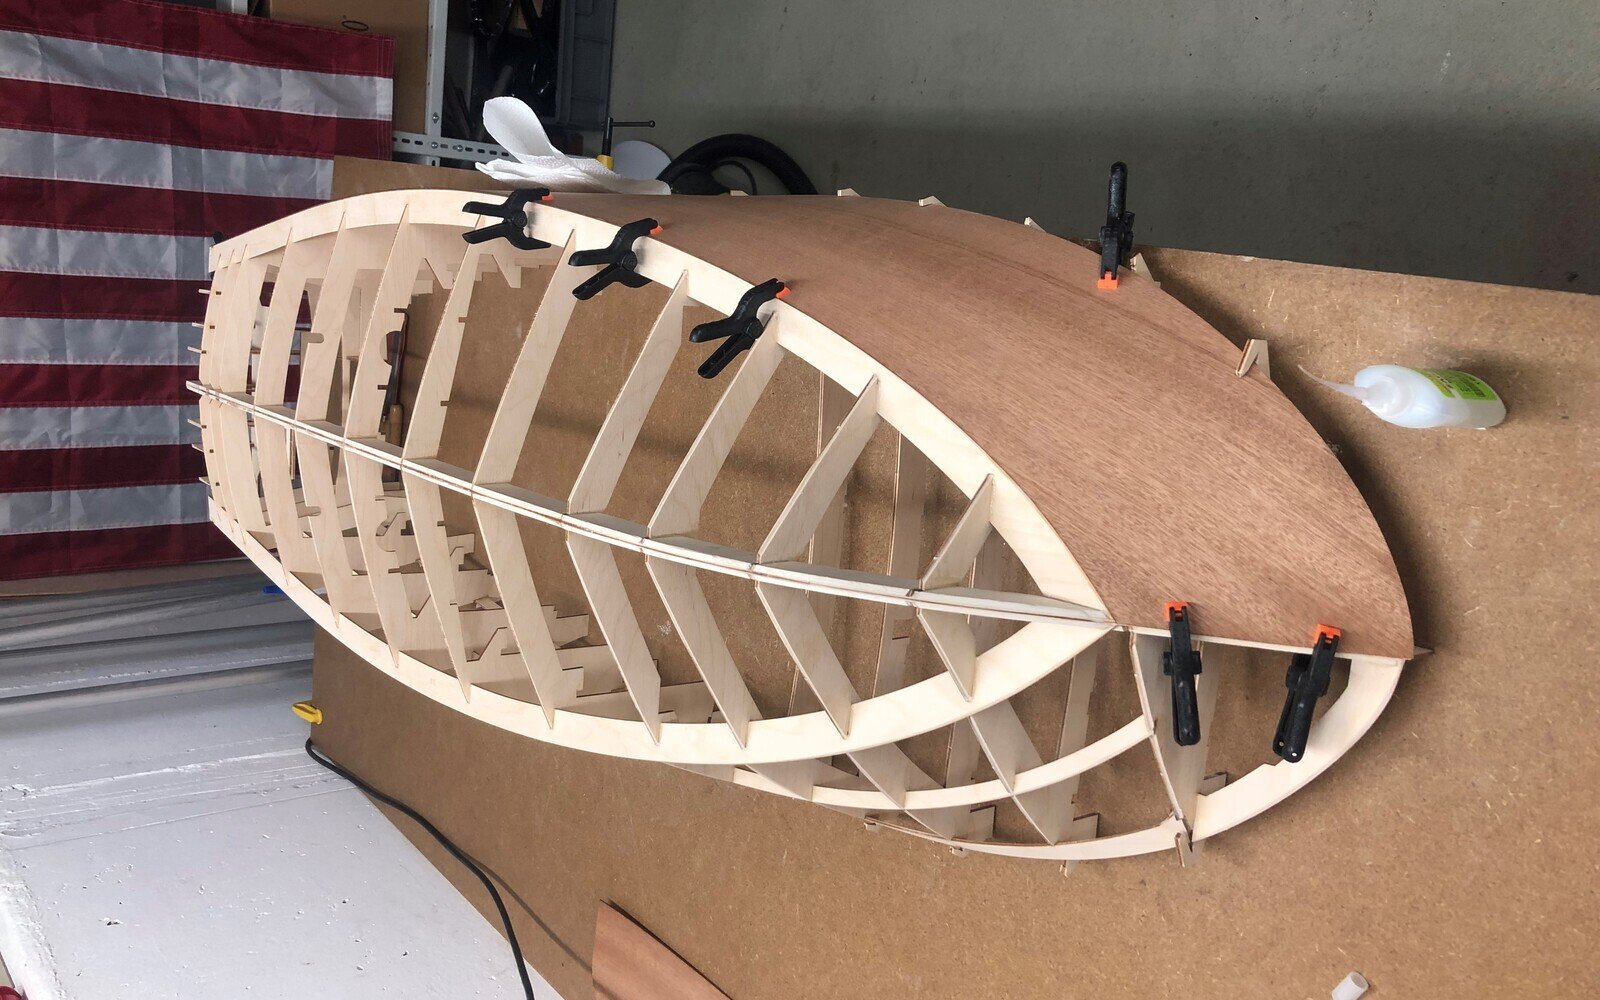
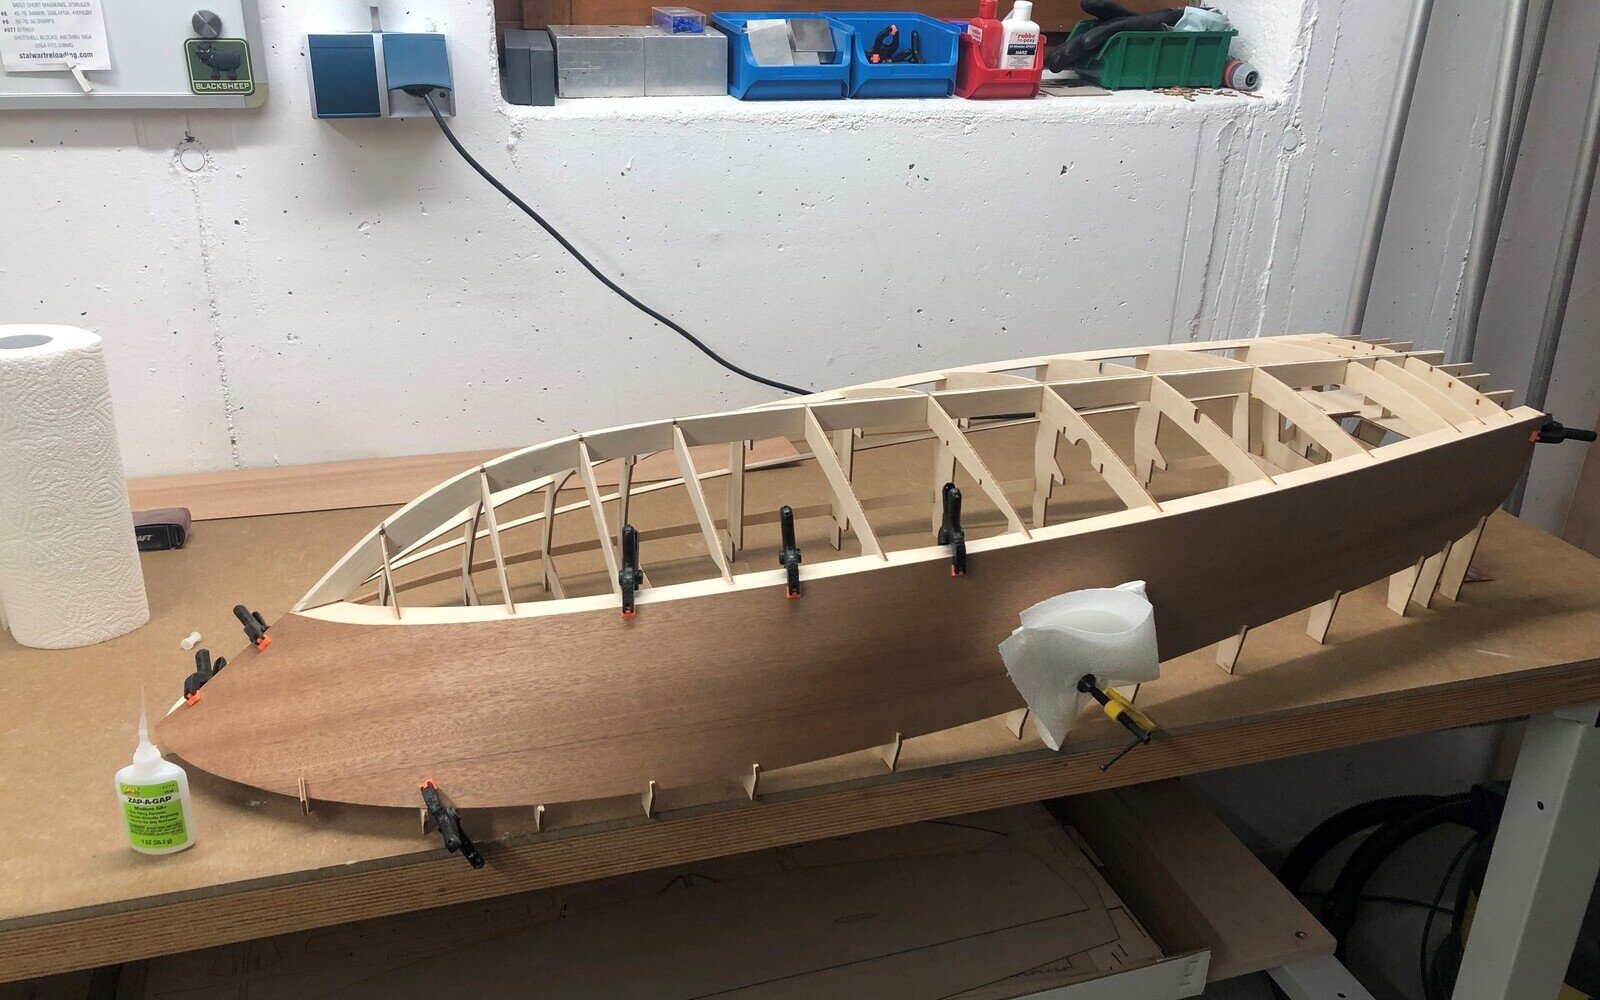
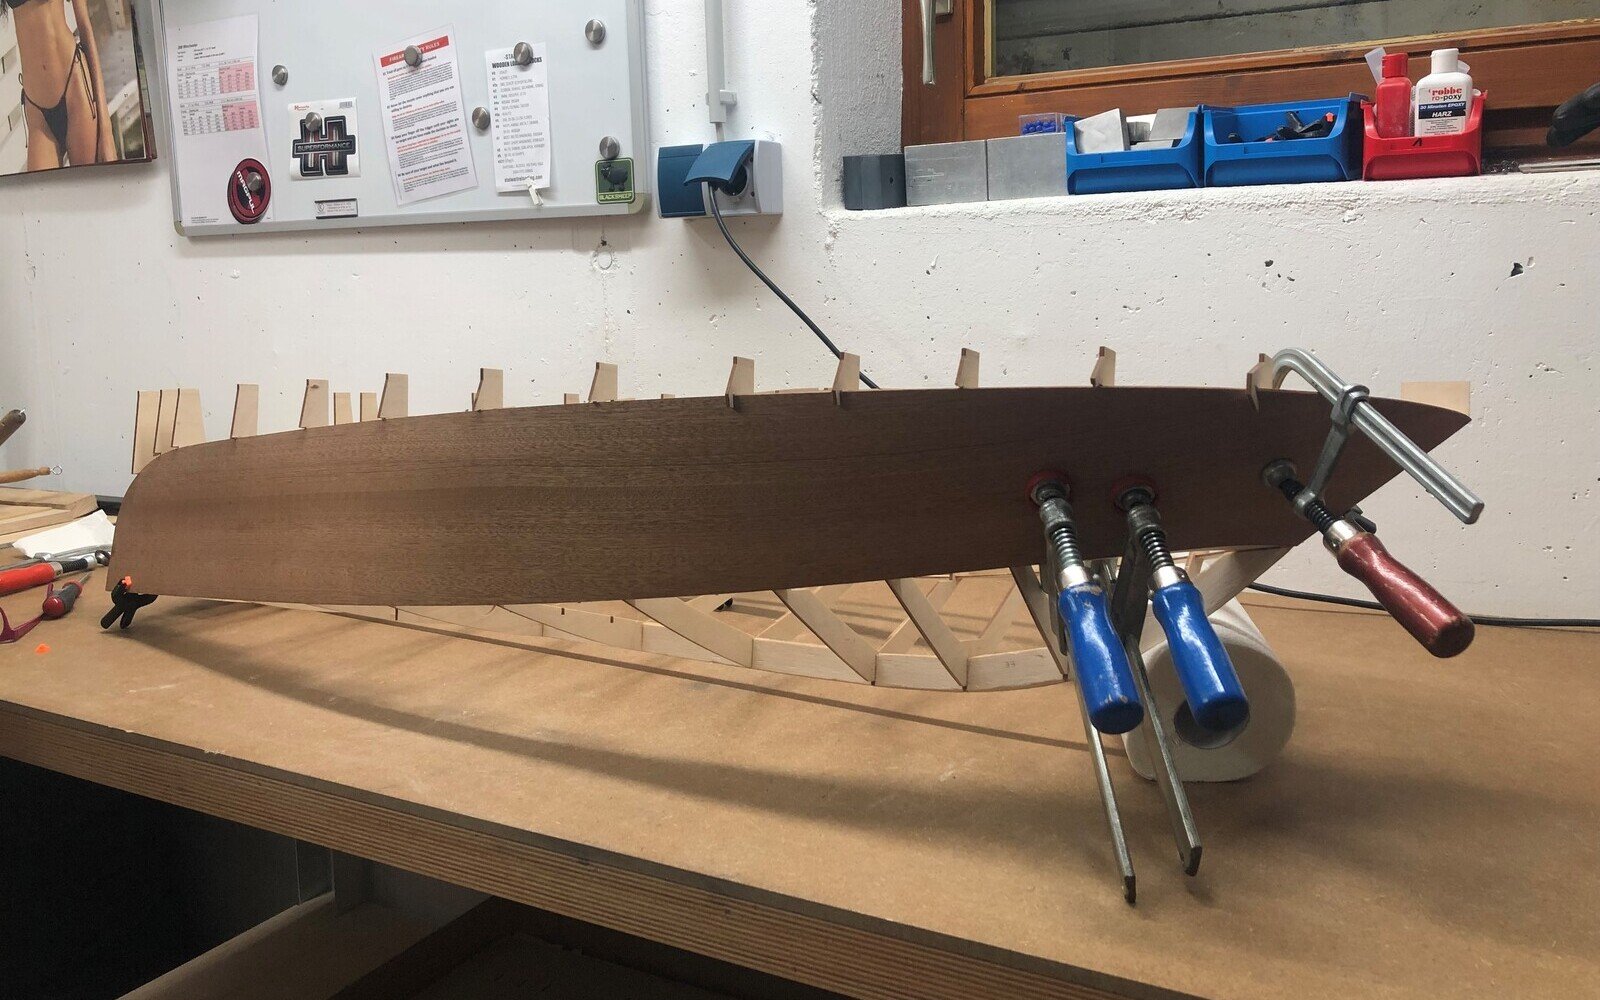
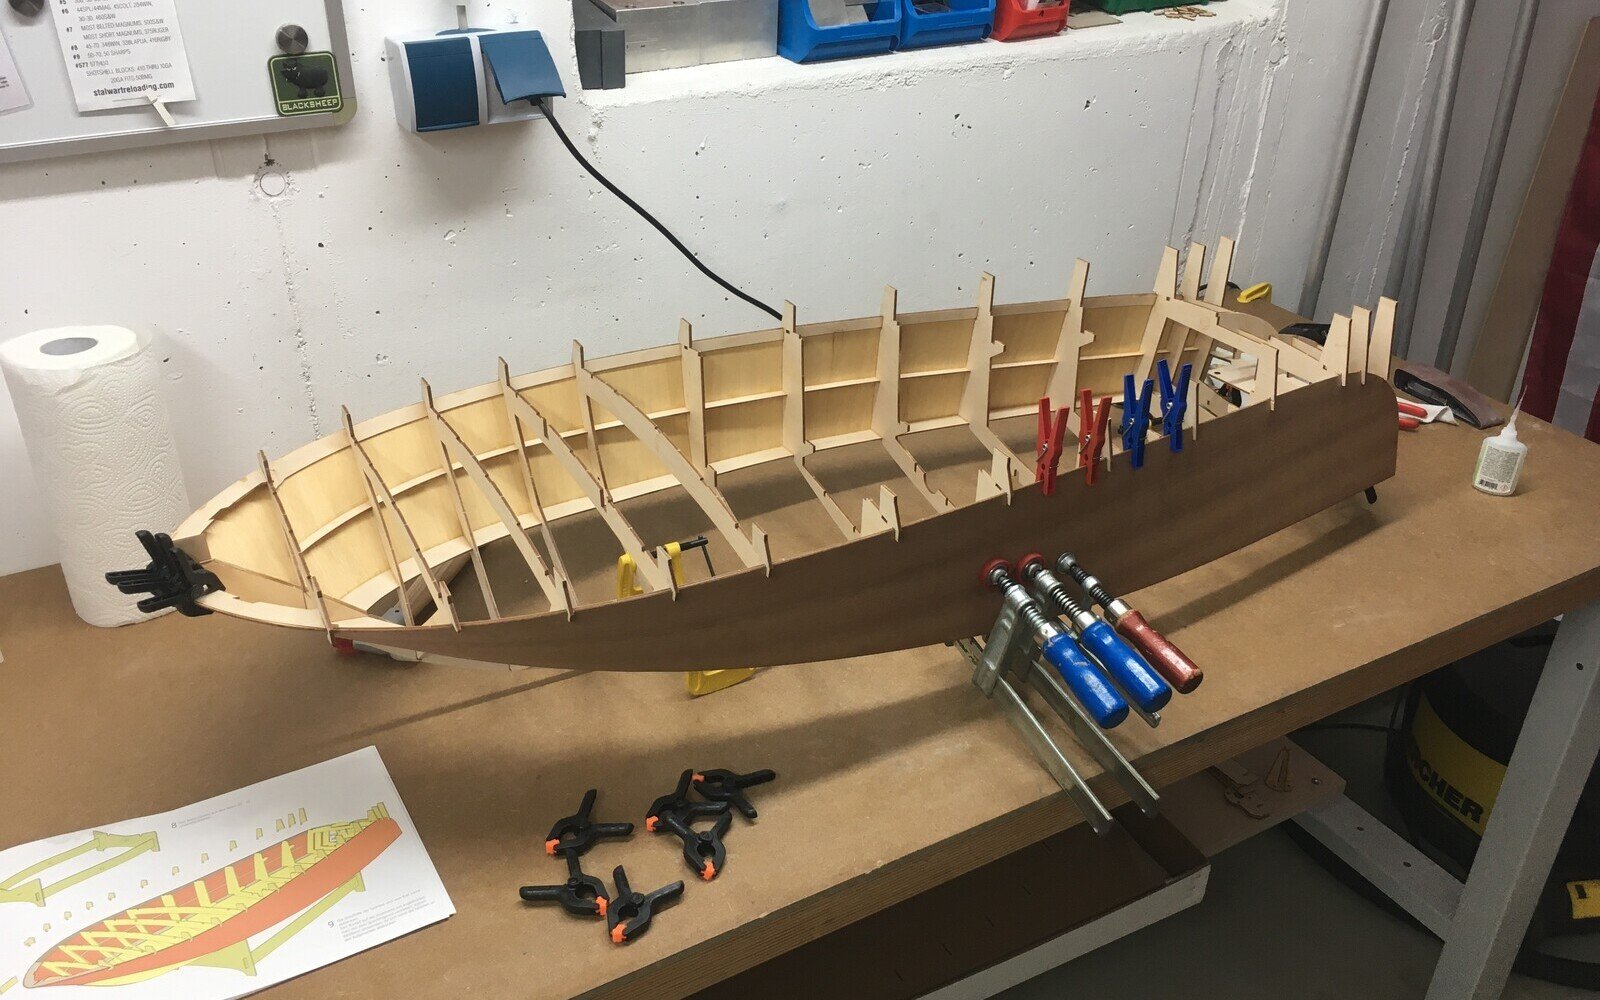
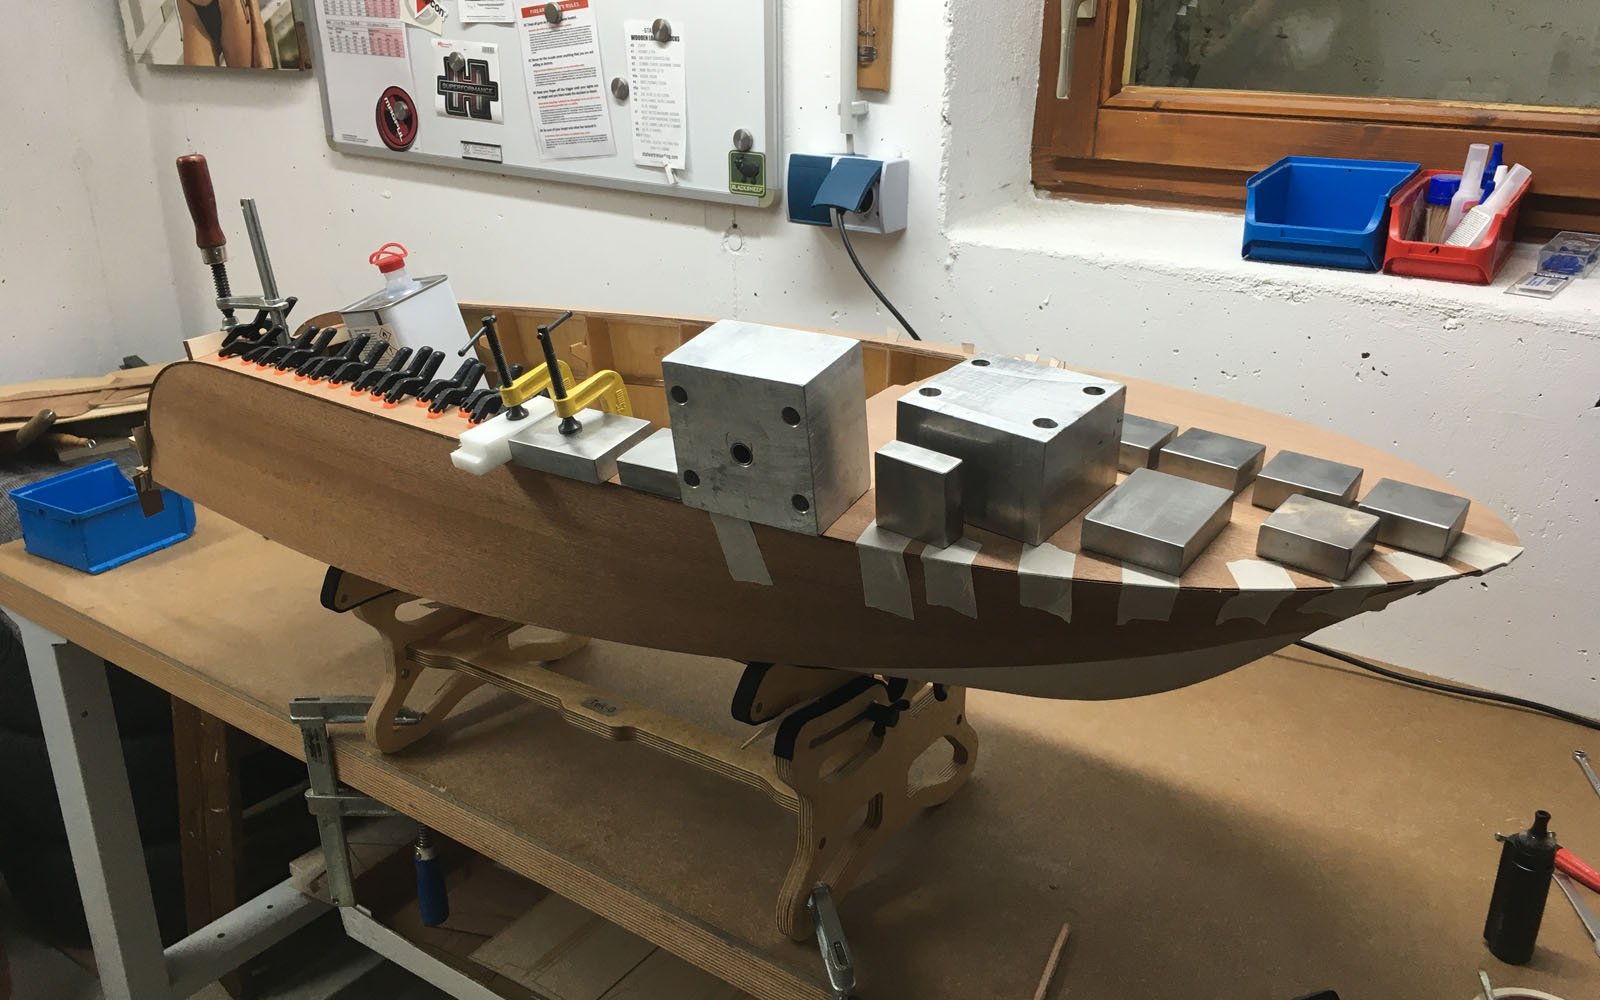
The glue-up of the hull sides has cured and we are very happy with the result. Now it’s on to the bottom hull. The parts fit the frame structure very well in terms of shape. To achieve a nice planing surface and a sharp trailing edge for the water in the end, I sanded the plywood bottom precisely to the planing surface (part 16).
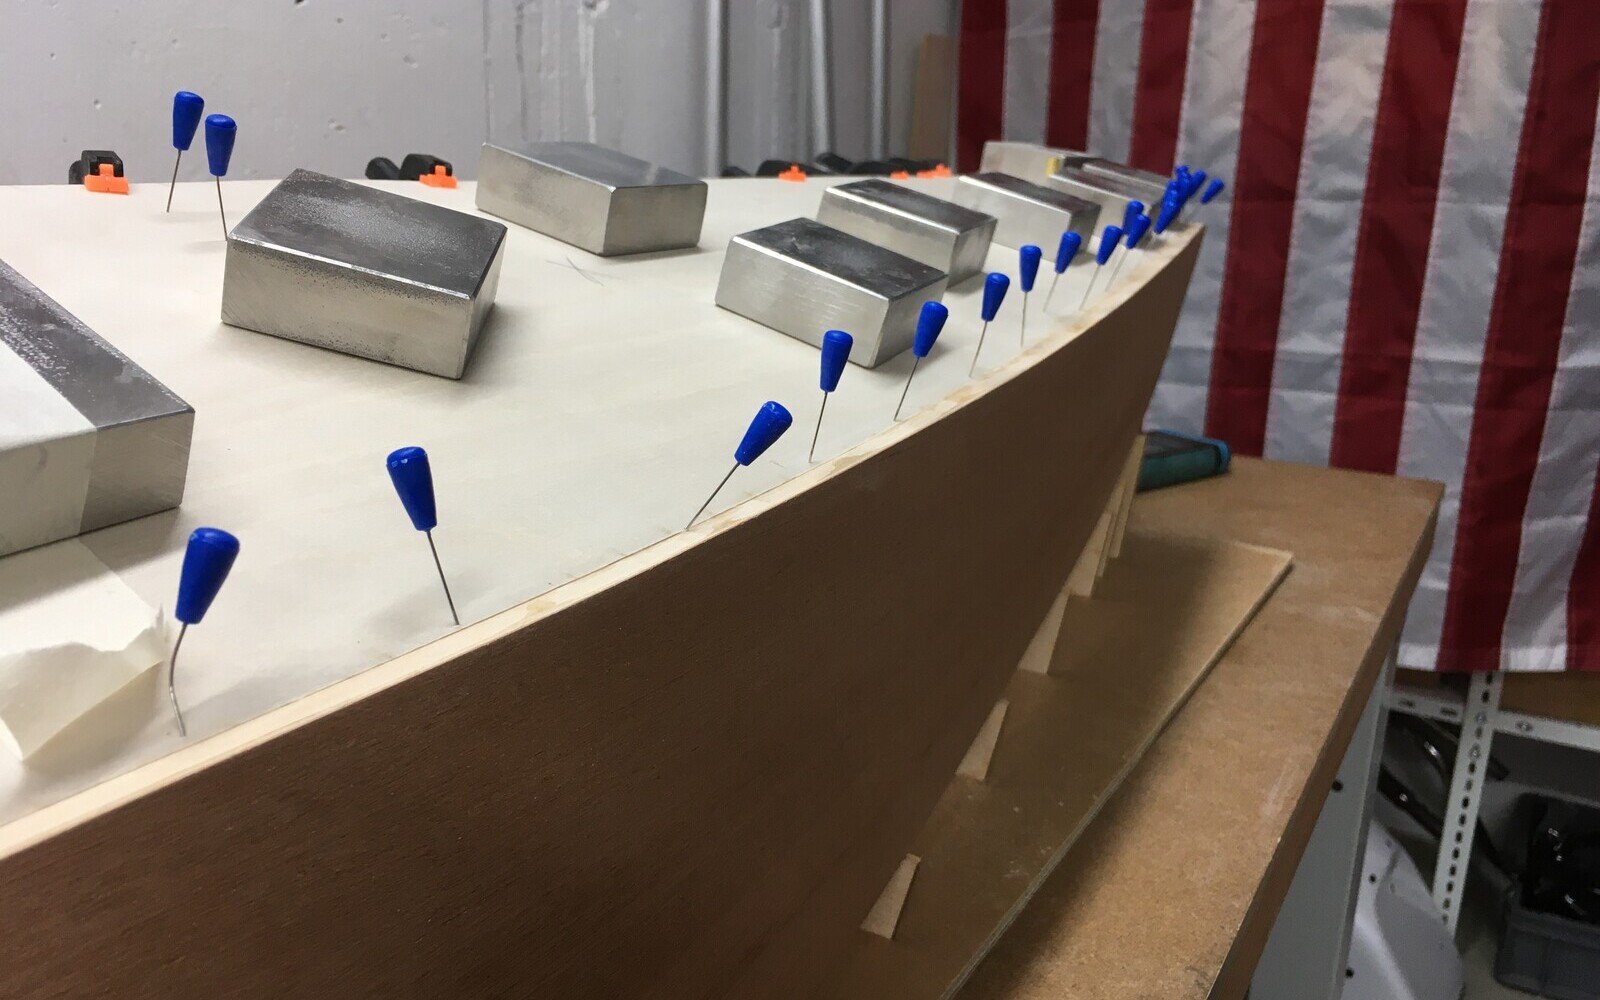
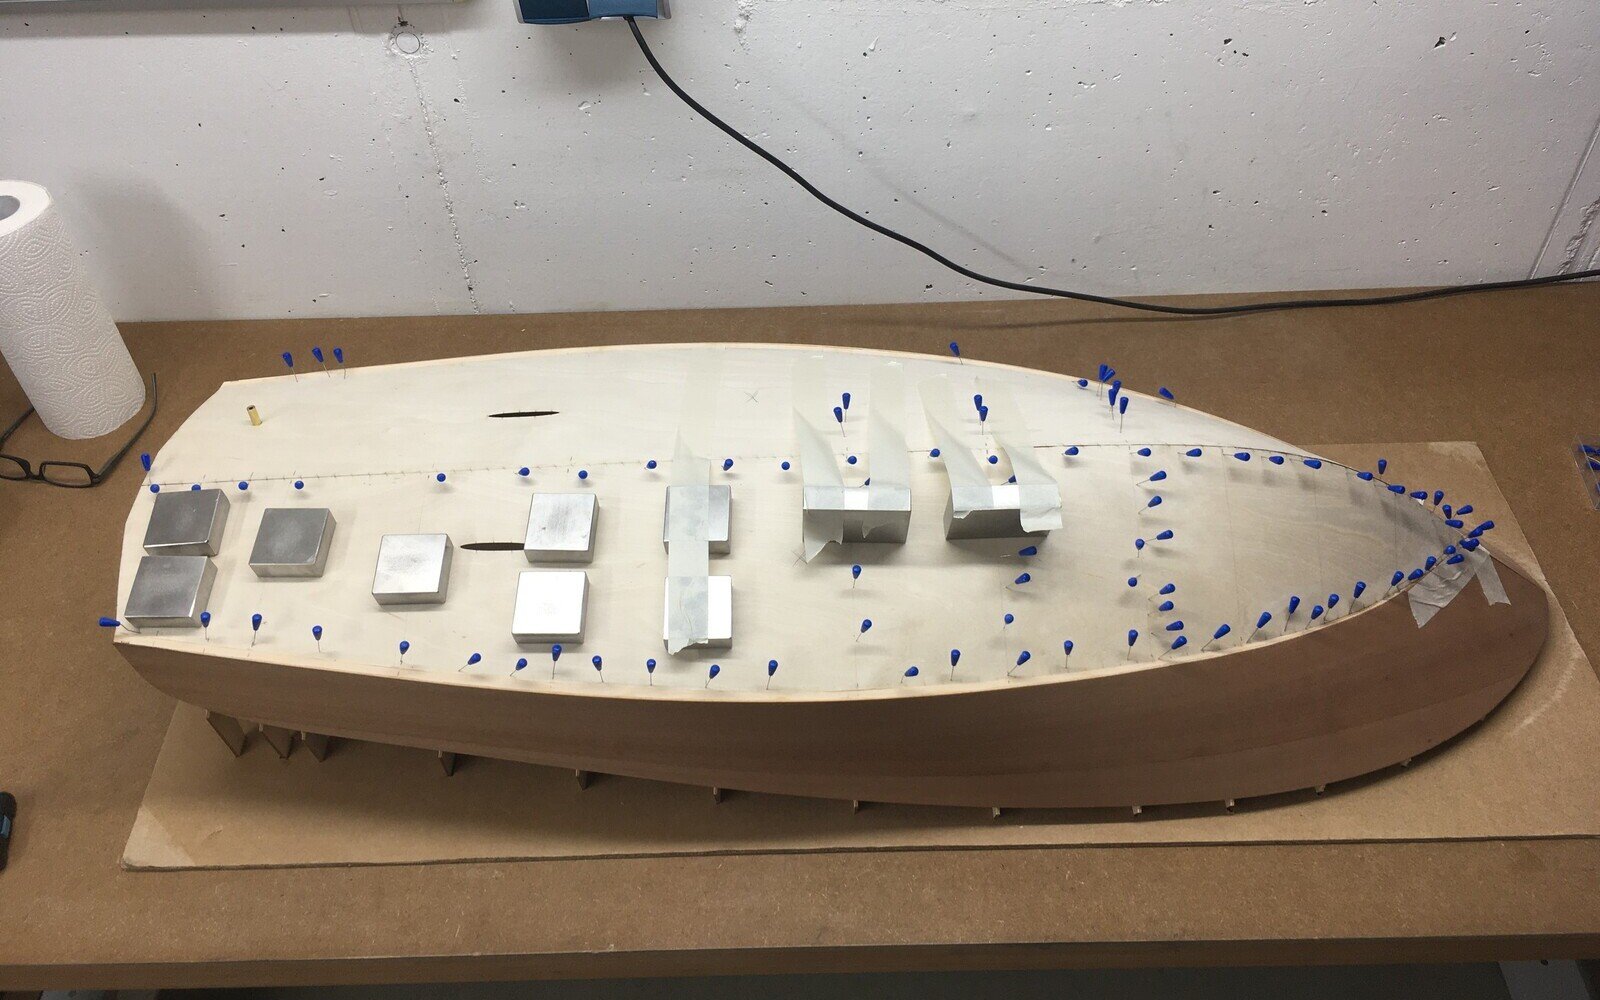
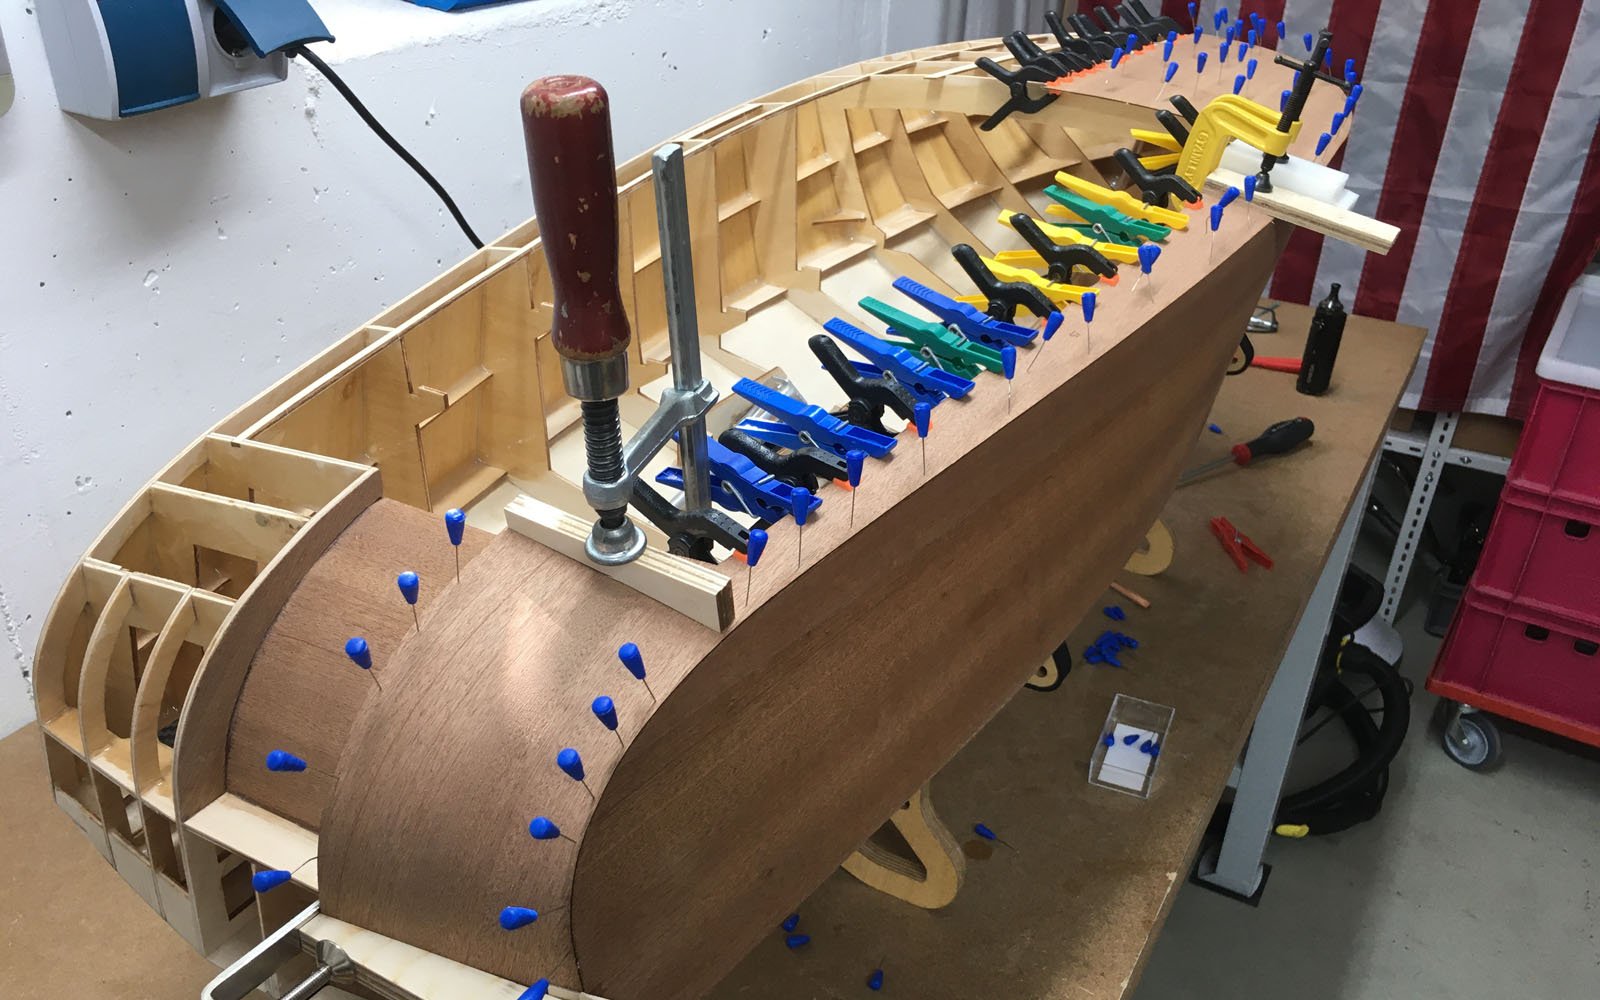
We then applied undiluted PVA to the frame structure and, as described, aligned and fixed the parts from the bow along the keel. On our boat, the parts sit perfectly on the framework; only at frames 9, 10 and 11 is there a small gap. We didn’t clamp this closed, but filled it with thickened epoxy resin.
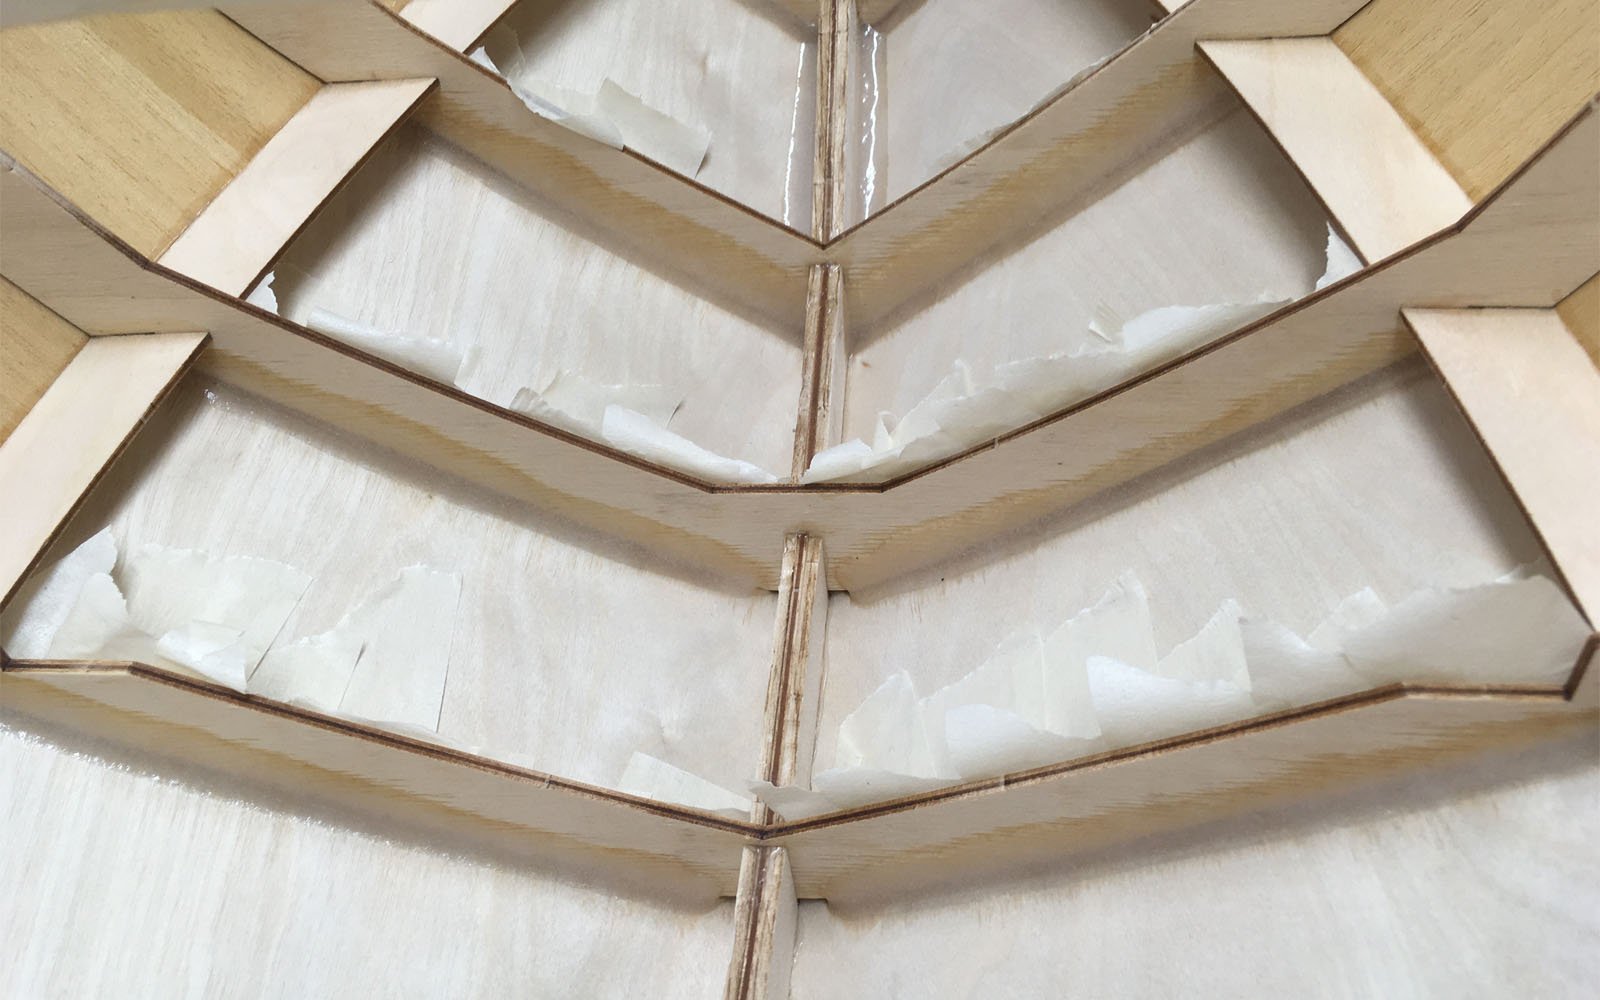
For this kind of work, we always use R&G Epoxy Resin L and Hardener L, plus cotton flock or a thixotropic agent as required. It’s not the fastest resin, but it penetrates deep into the wood and offers excellent strength as well as elasticity.
But let’s look at it this way… In model making, speed (during the build, of course) is NOT what matters; it’s a hobby, and the result is what counts.
Yes, as briefly mentioned in the previous post, our preferred resin system isn’t exactly the fastest. As a result, bonding the individual frames and the inside of the hull with thick resin is a bit time-consuming. But it also has its advantages—you discover quite a few things that aren’t solved all that well. More on that later…
Before we put the boat into the most impossible positions for sealing with resin, we naturally always took care of small tasks to move the build along a little. That’s how the framework for the deck superstructure was created, and the rear stairway was glued in. Over the next few days we shaped it—“what a sanding effort”. But for now, we’re very happy with the result.
Now that we’ve been spending days coating the inside of our boat with thick resin, there’s plenty of time left for smaller jobs on the side. So we reinforced the transom and milled a number of required cut-outs.
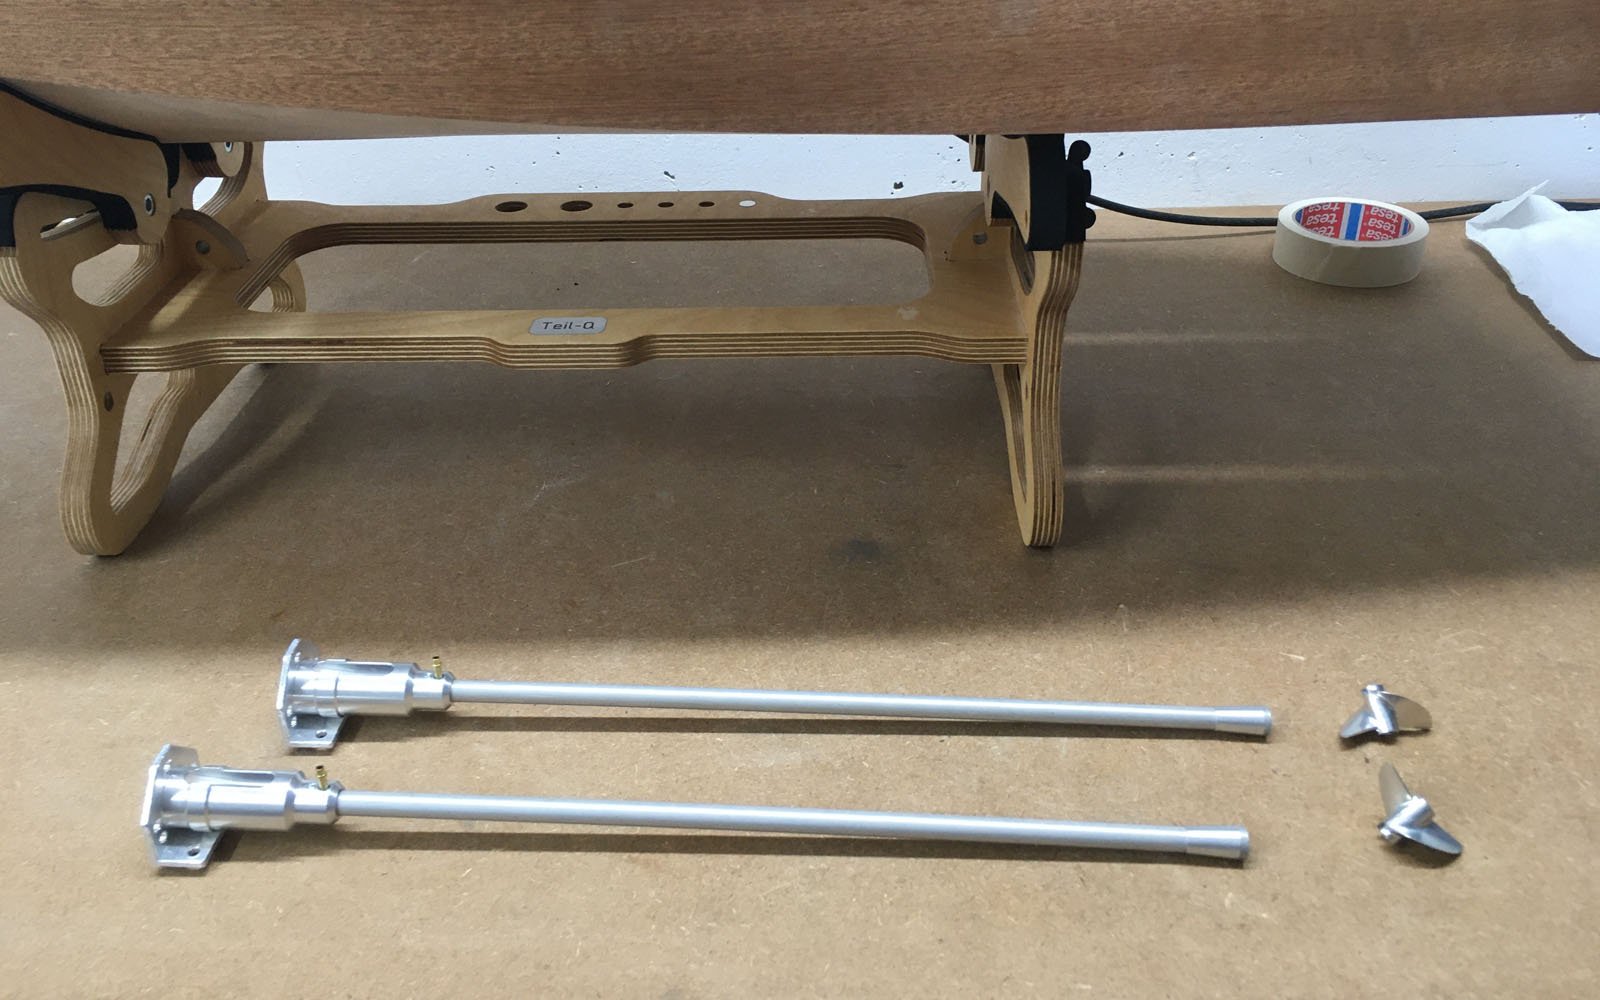
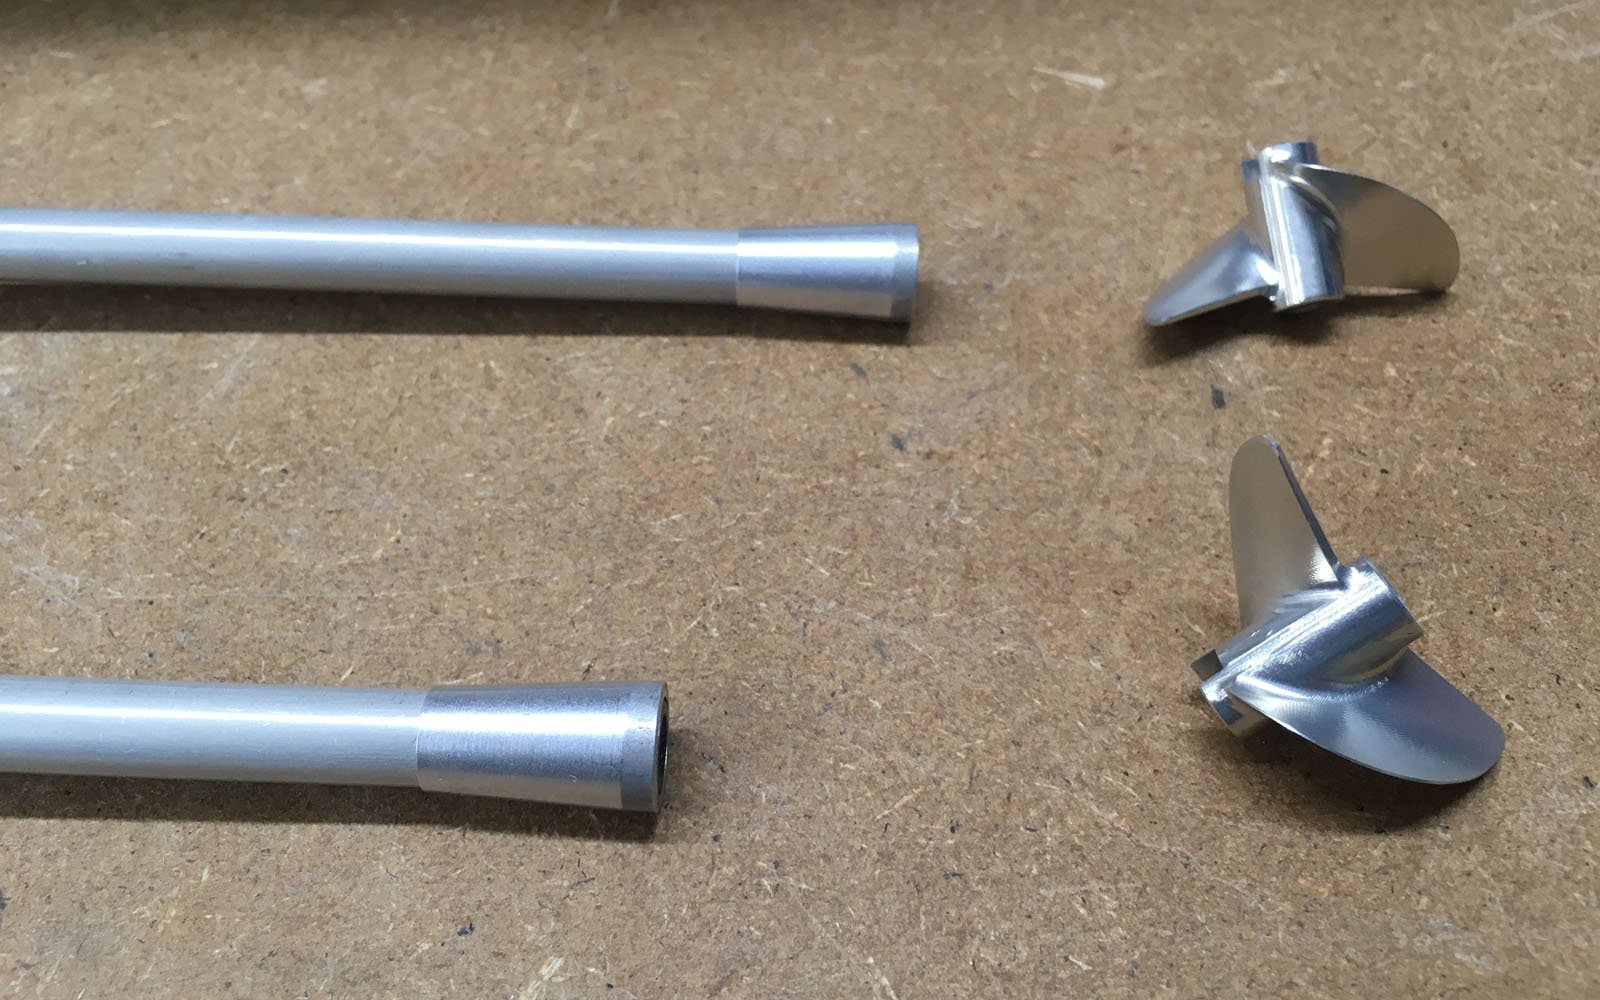
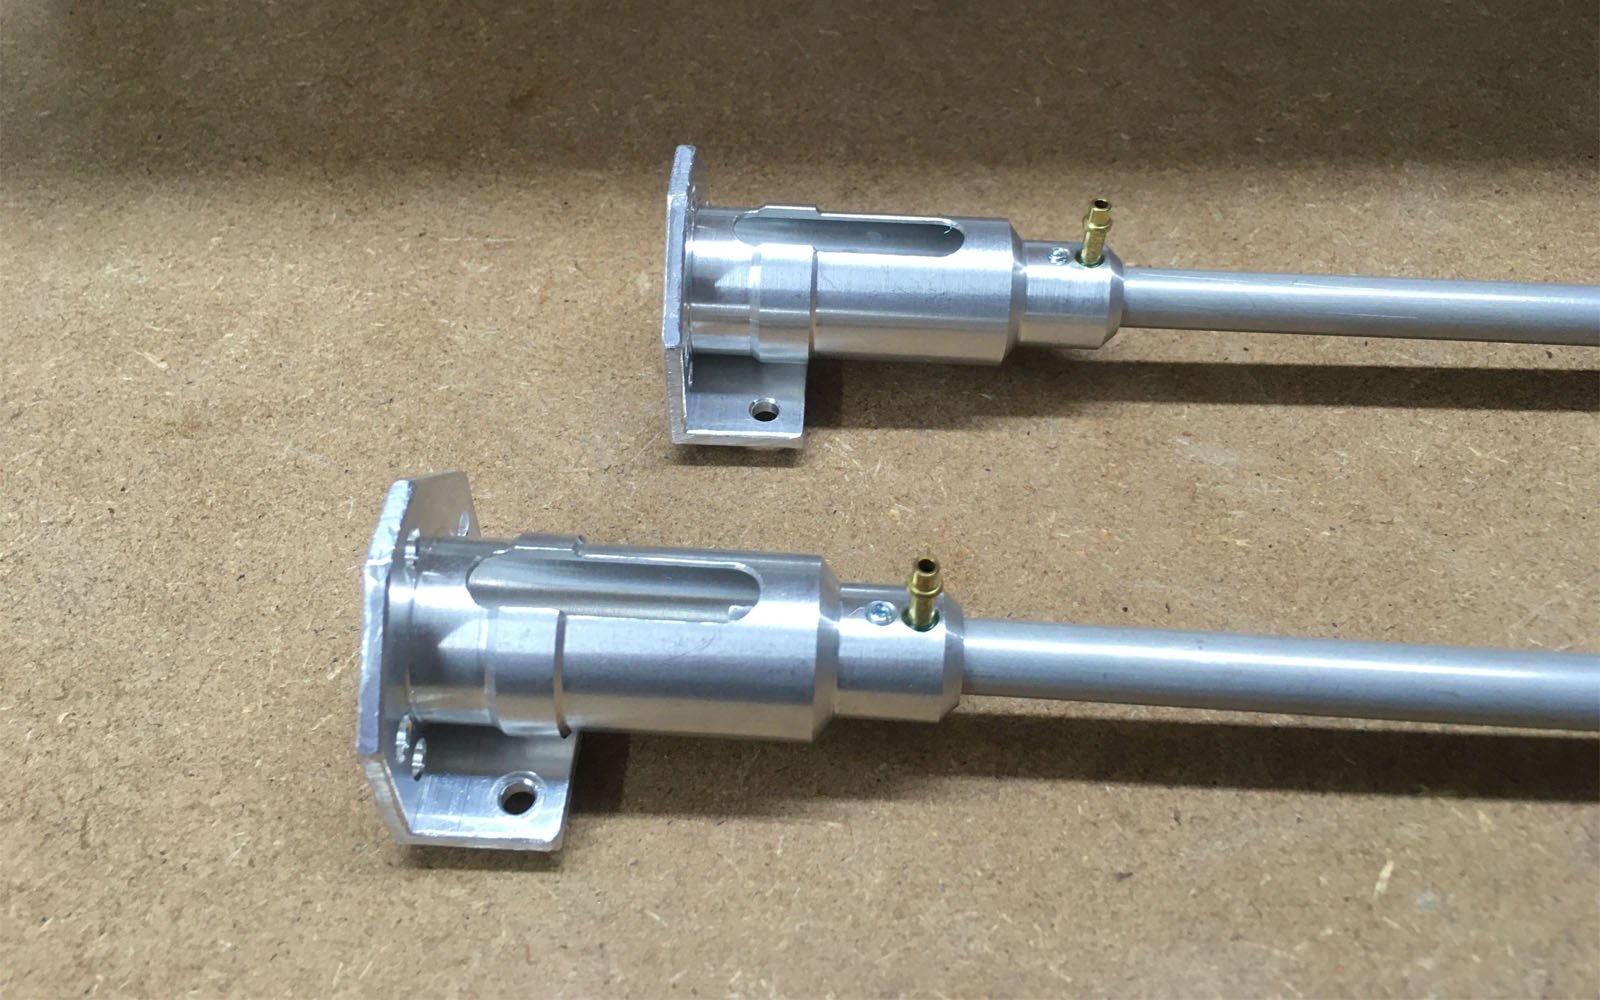
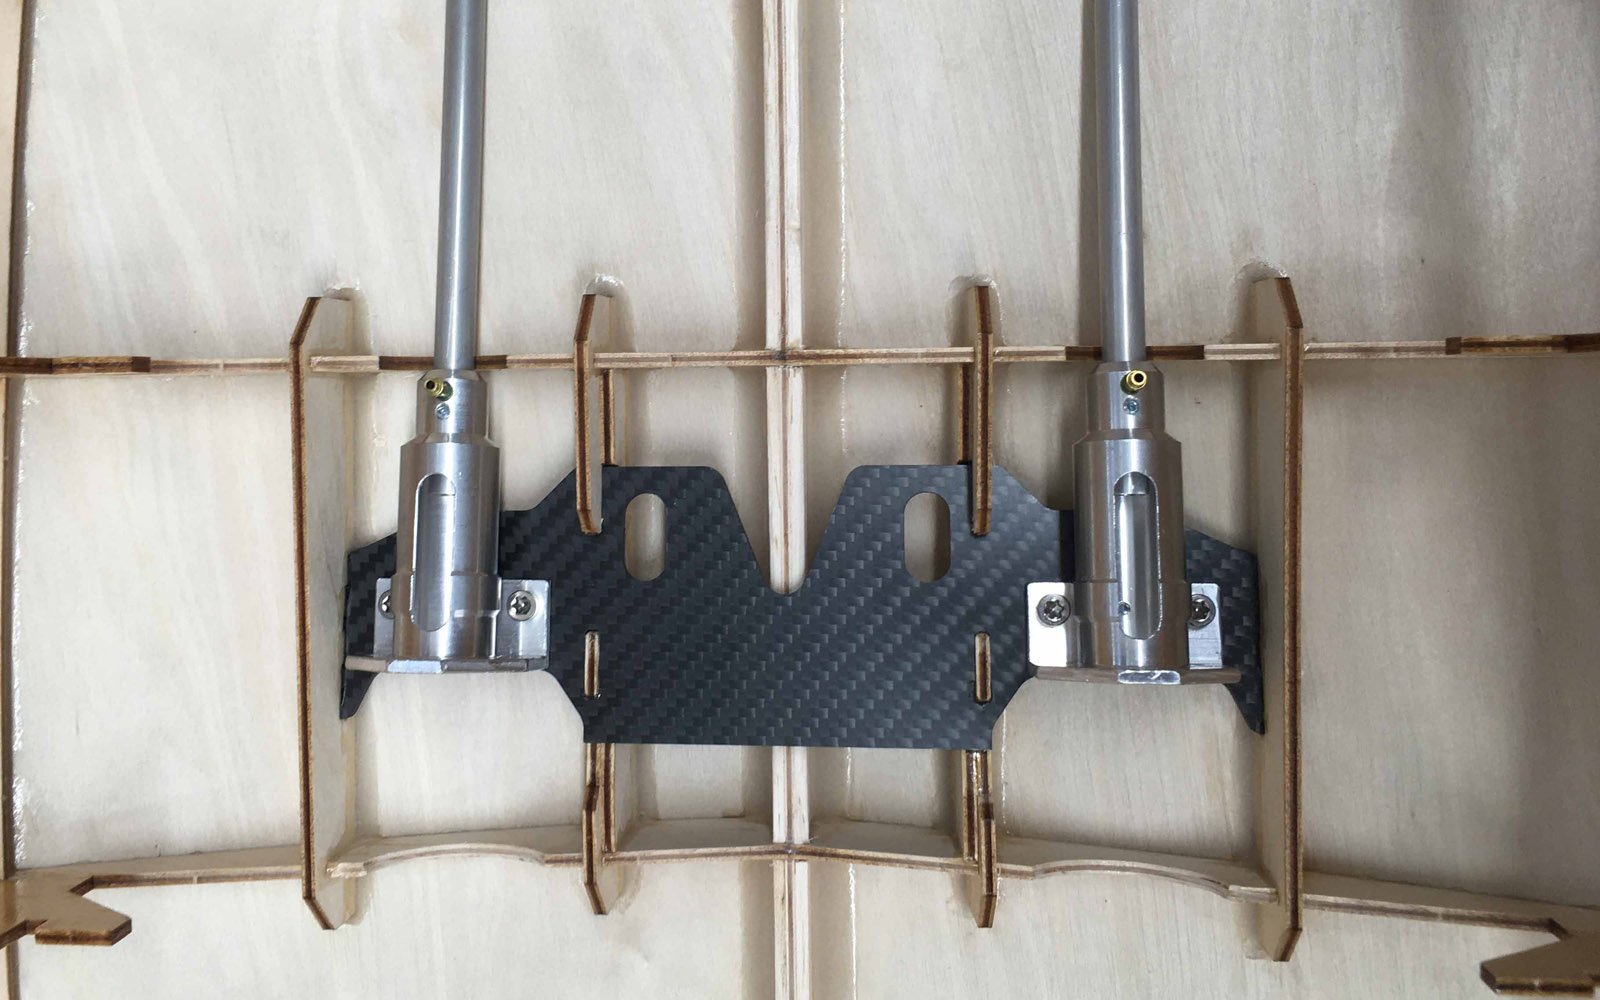
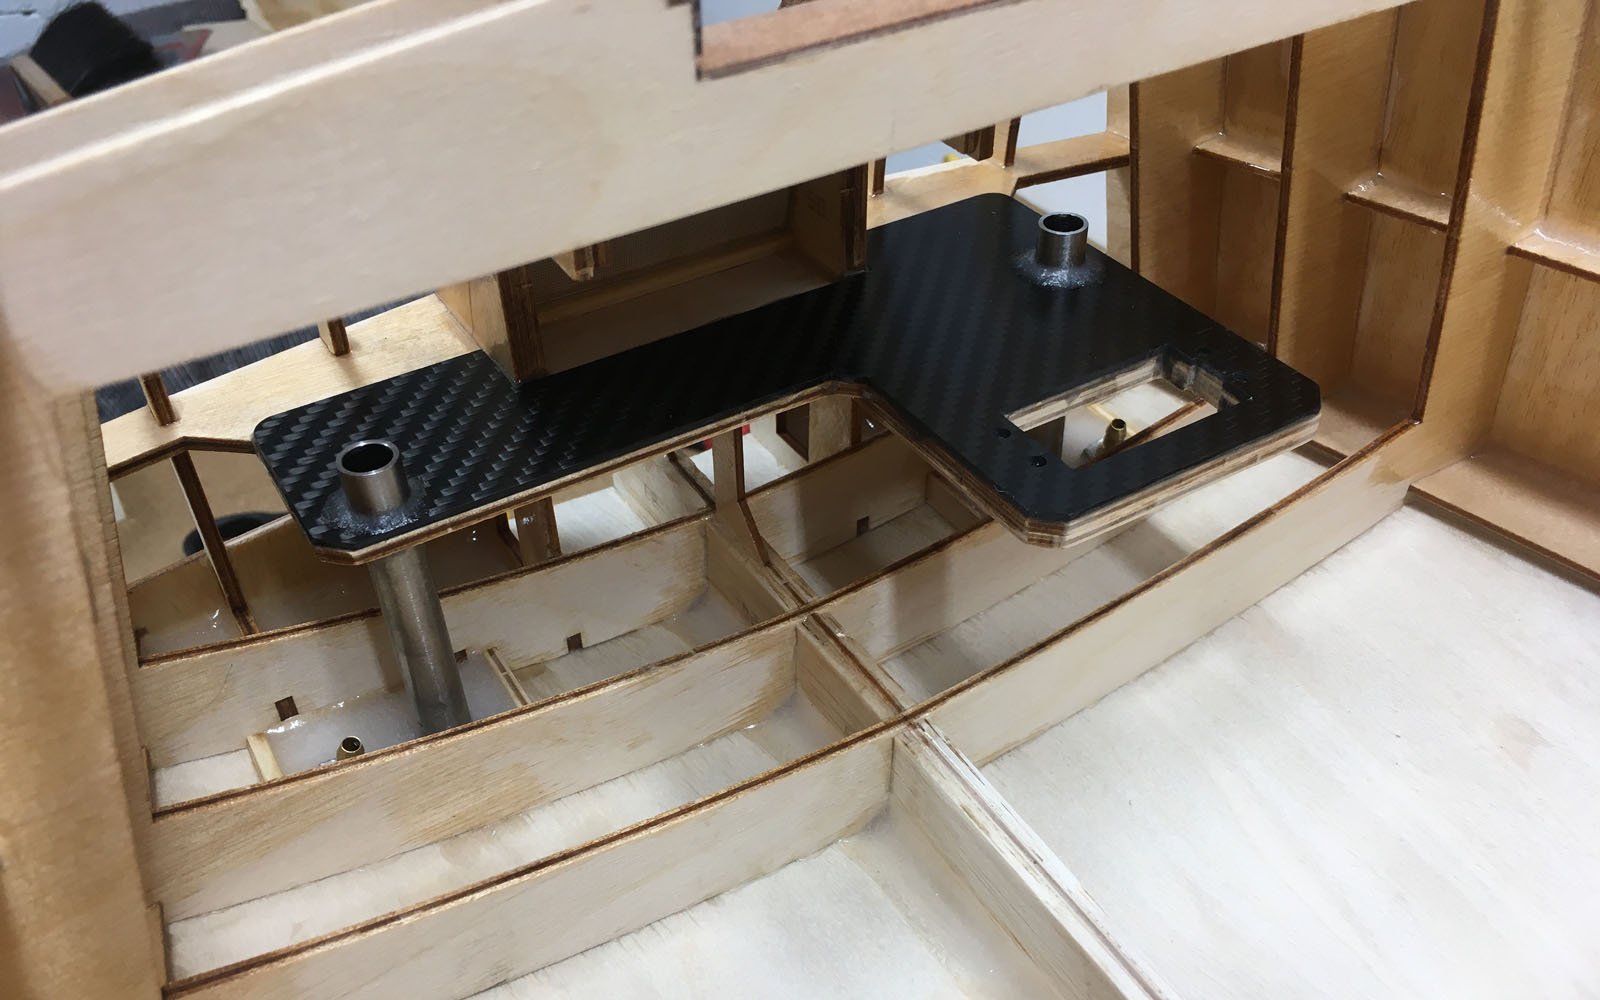
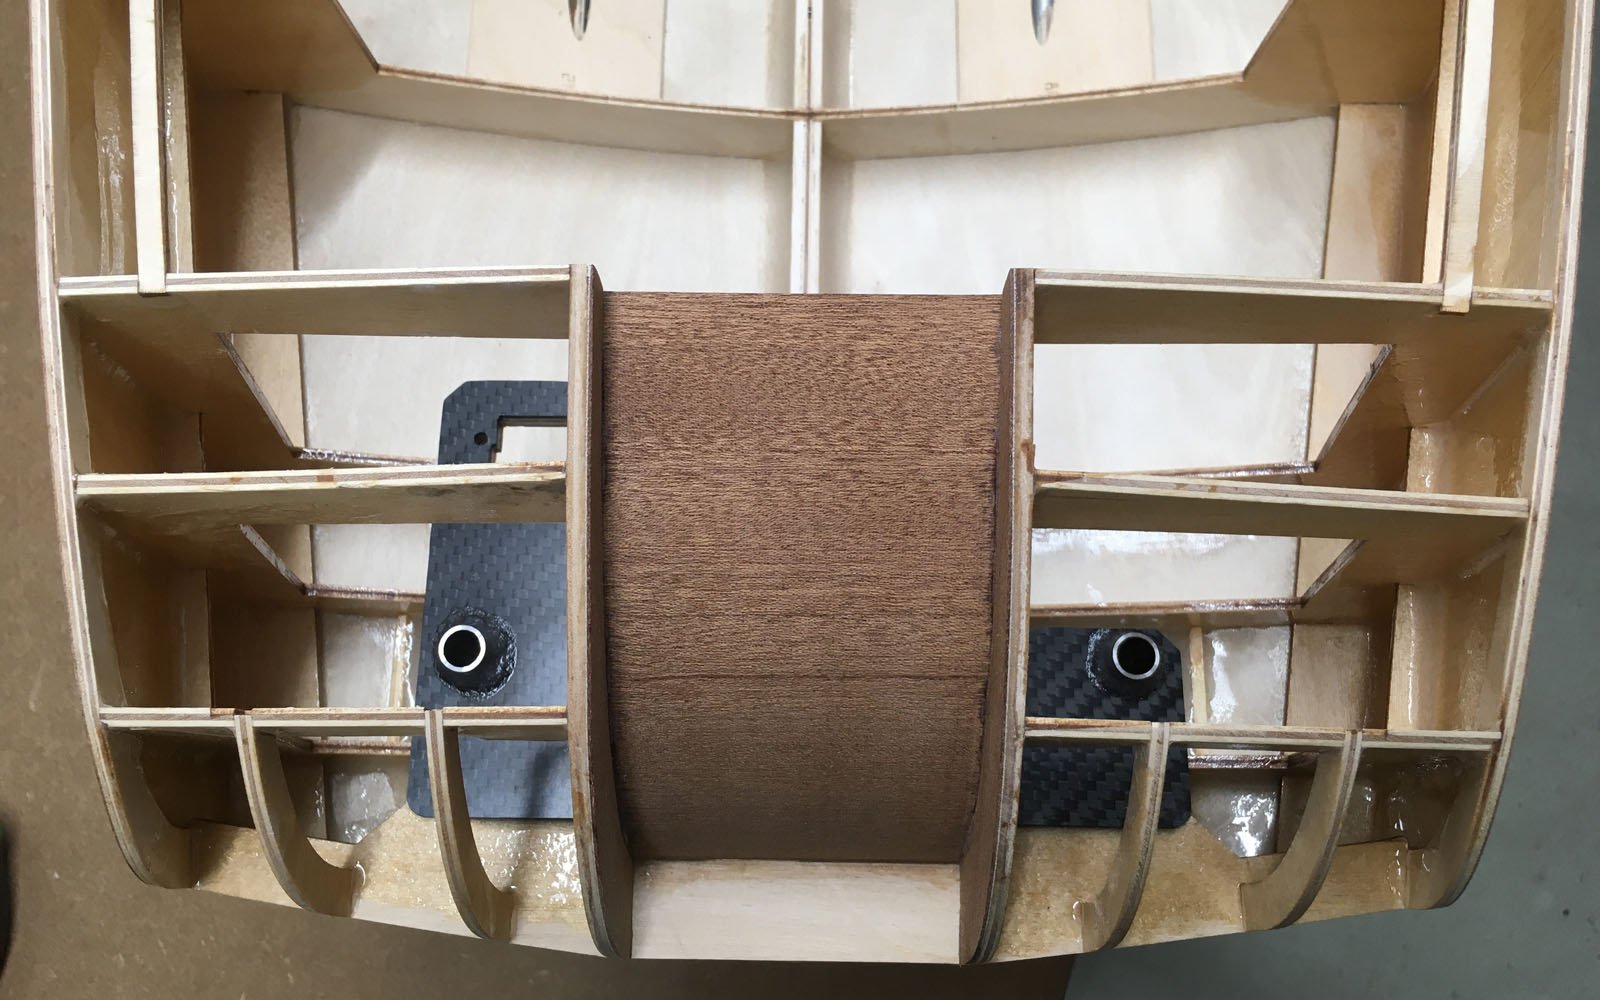
Now, on to the drive system. The original one from aero-naut—“well”—may work, but it’s not really what we have in mind for our boat. We wouldn’t be ScaleMonkey if we didn’t take things up a notch technically, and that’s exactly why we chose the Gundert rigid shaft system. These are rigidly connected to the motors, which guarantees perfect true running and therefore low-vibration shaft rotation. For the drives, I made a carbon motor mount with special mounts, so they can be easily installed and removed later. It was quite a puzzle to get all the angles right, but it fits.
The shafts in our system are 5 mm thick and supported by plain and ball bearings. For the propeller mount we use a 3/16 DogDrive.
Similar changes will also be made to the rudder system, because a 3 mm brass shaft… that really can’t work. Here I’m using a 5 mm shaft with a stainless-steel blade. This combination should also cope well with more agile cornering.
Our rudder system is designed for very high-performance servos, such as the KST BLS 359 WP or the KST CM3510MG V6.0. These two KST servos are waterproof and deliver 28 kgf·cm and 35 kgf·cm respectively. For this reason, we decided to reinforce the original servo tray from aero-naut so it doesn’t twist. For this, a carbon overlay was milled and bonded to the original tray. You can purchase this servo board, as well as the rudder system, in our shop.
If possible, the servo board should be installed before planking the deck, as there is enough space to drill the holes for the new rudder tubes. However, it is also possible afterwards with a little extra effort. When bonding the rudder tubes into the hull, we also resin-bonded in the cooling-water inlets for the ESCs at the same time.
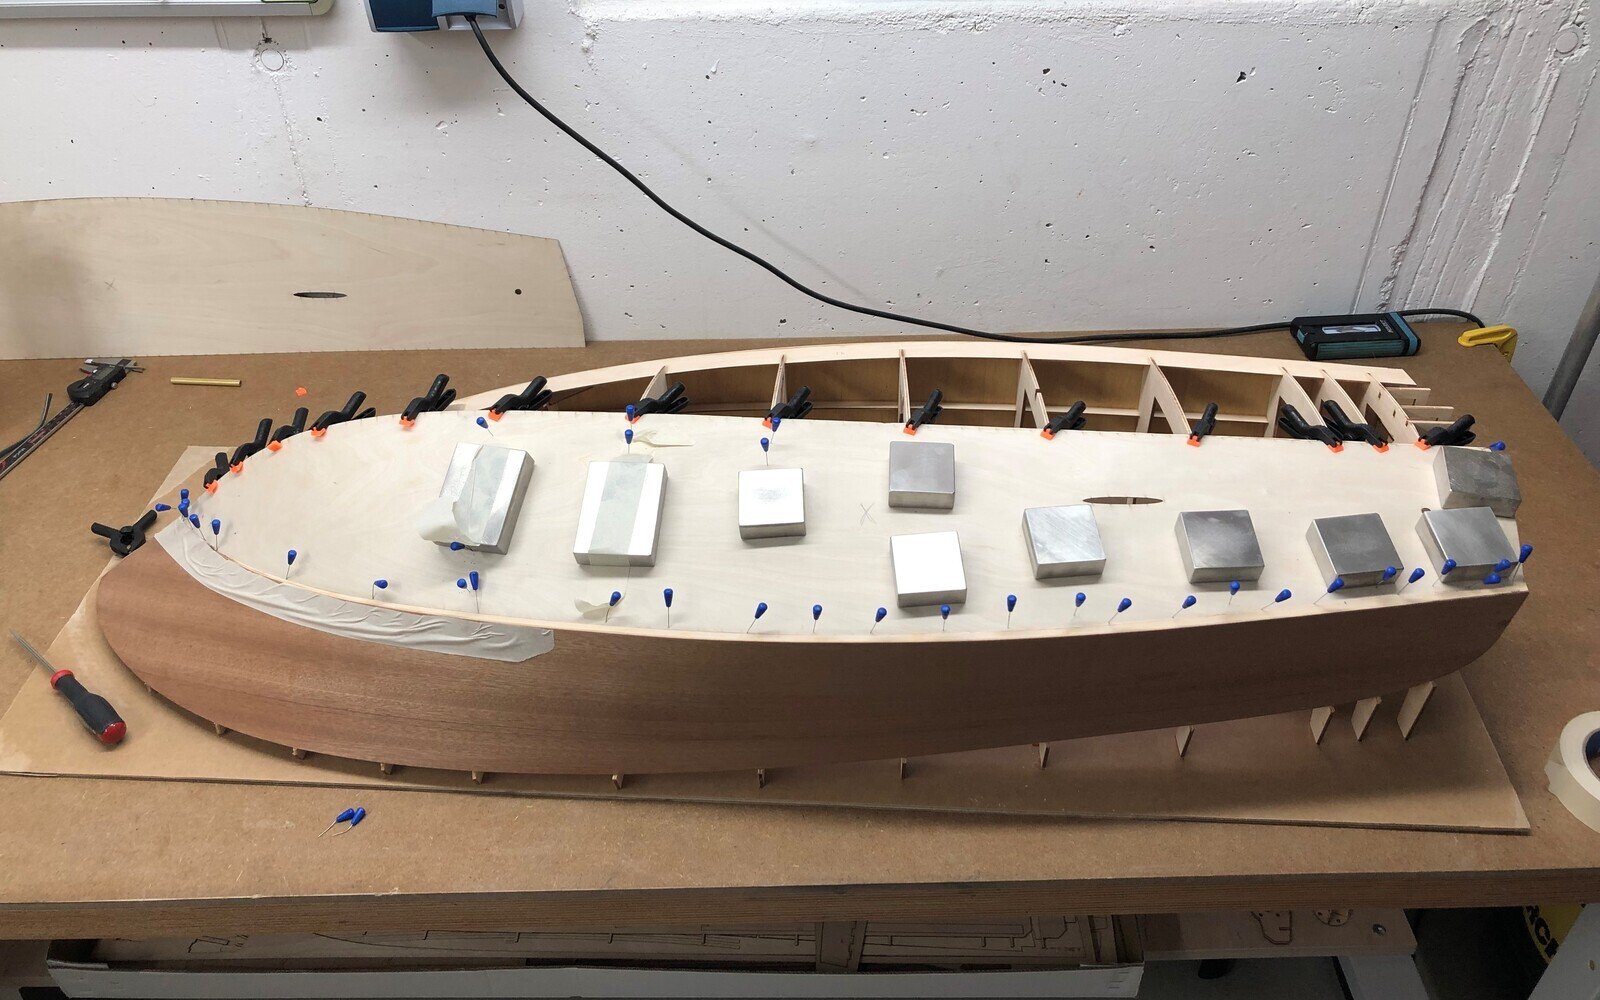
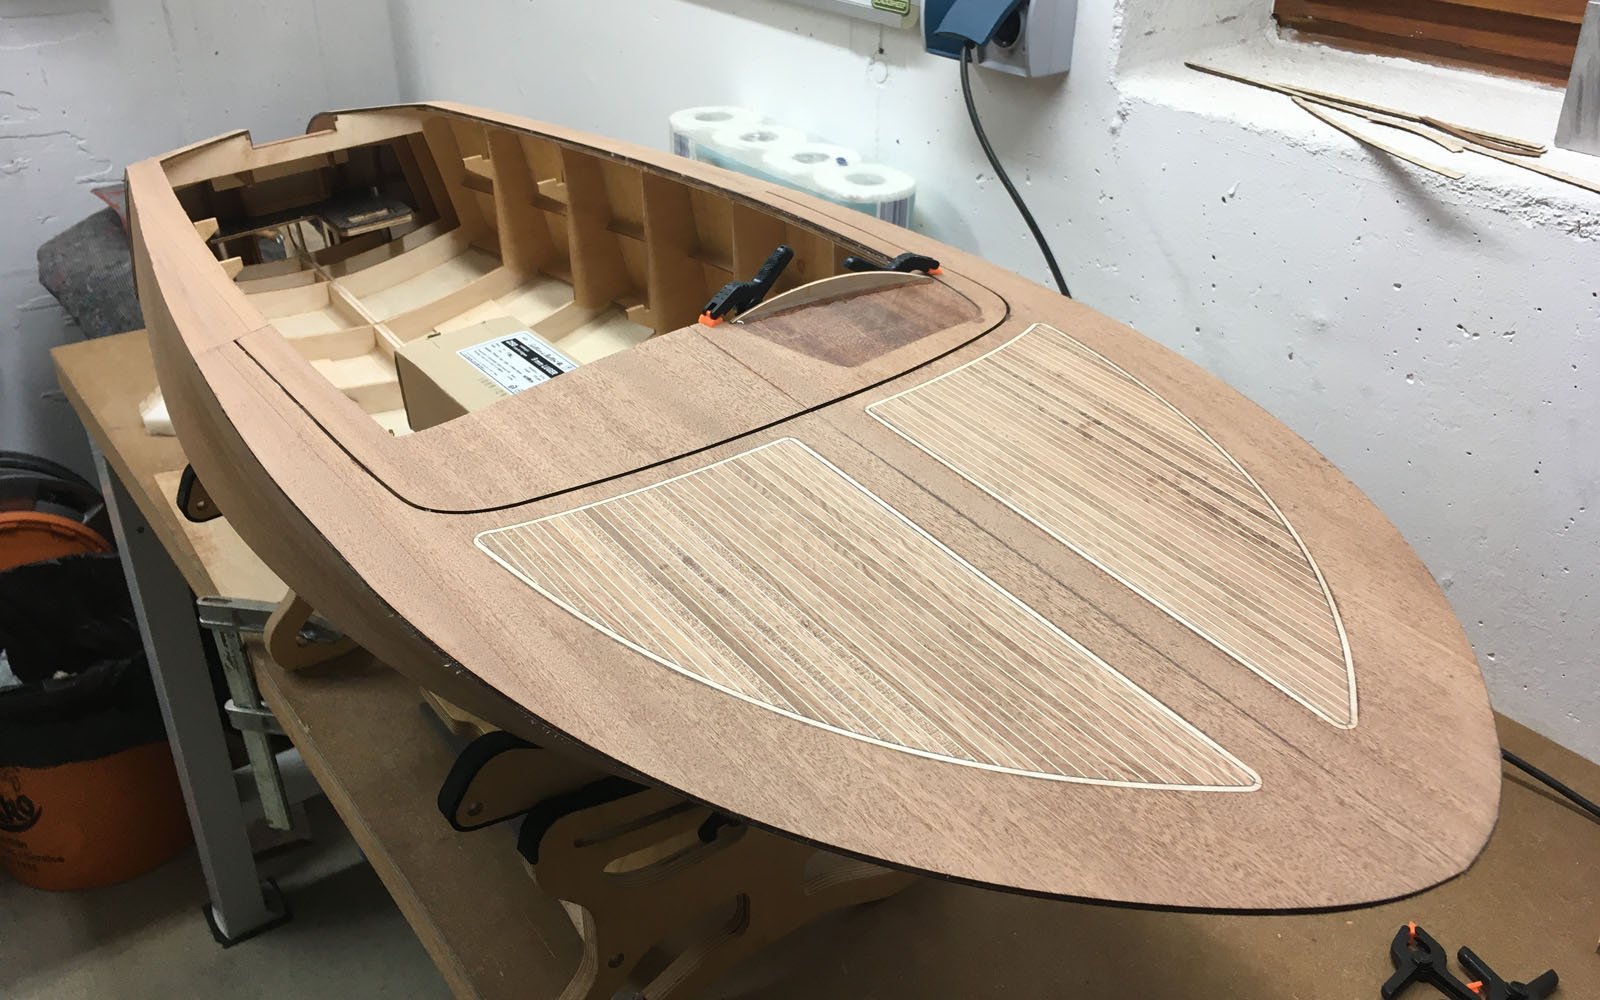
Now that all work on the hull is complete, we can finally move on to the deck. We glued the first and second layers of mahogany veneer to the frame structure with PVA, as described by aero-naut. The only deviation: we didn’t apply any pore filler. As the entire boat will then be coated with Miposeal, this isn’t necessary and the bond holds better. After the PVA had cured, the second layer was already sealed with Miposeal, as we want to glue the third mahogany layer with resin. In my opinion, this is necessary because the inlays are to be glued in with a two-component adhesive (our resin), and it also provides, how should I put it, an additional levelling layer.
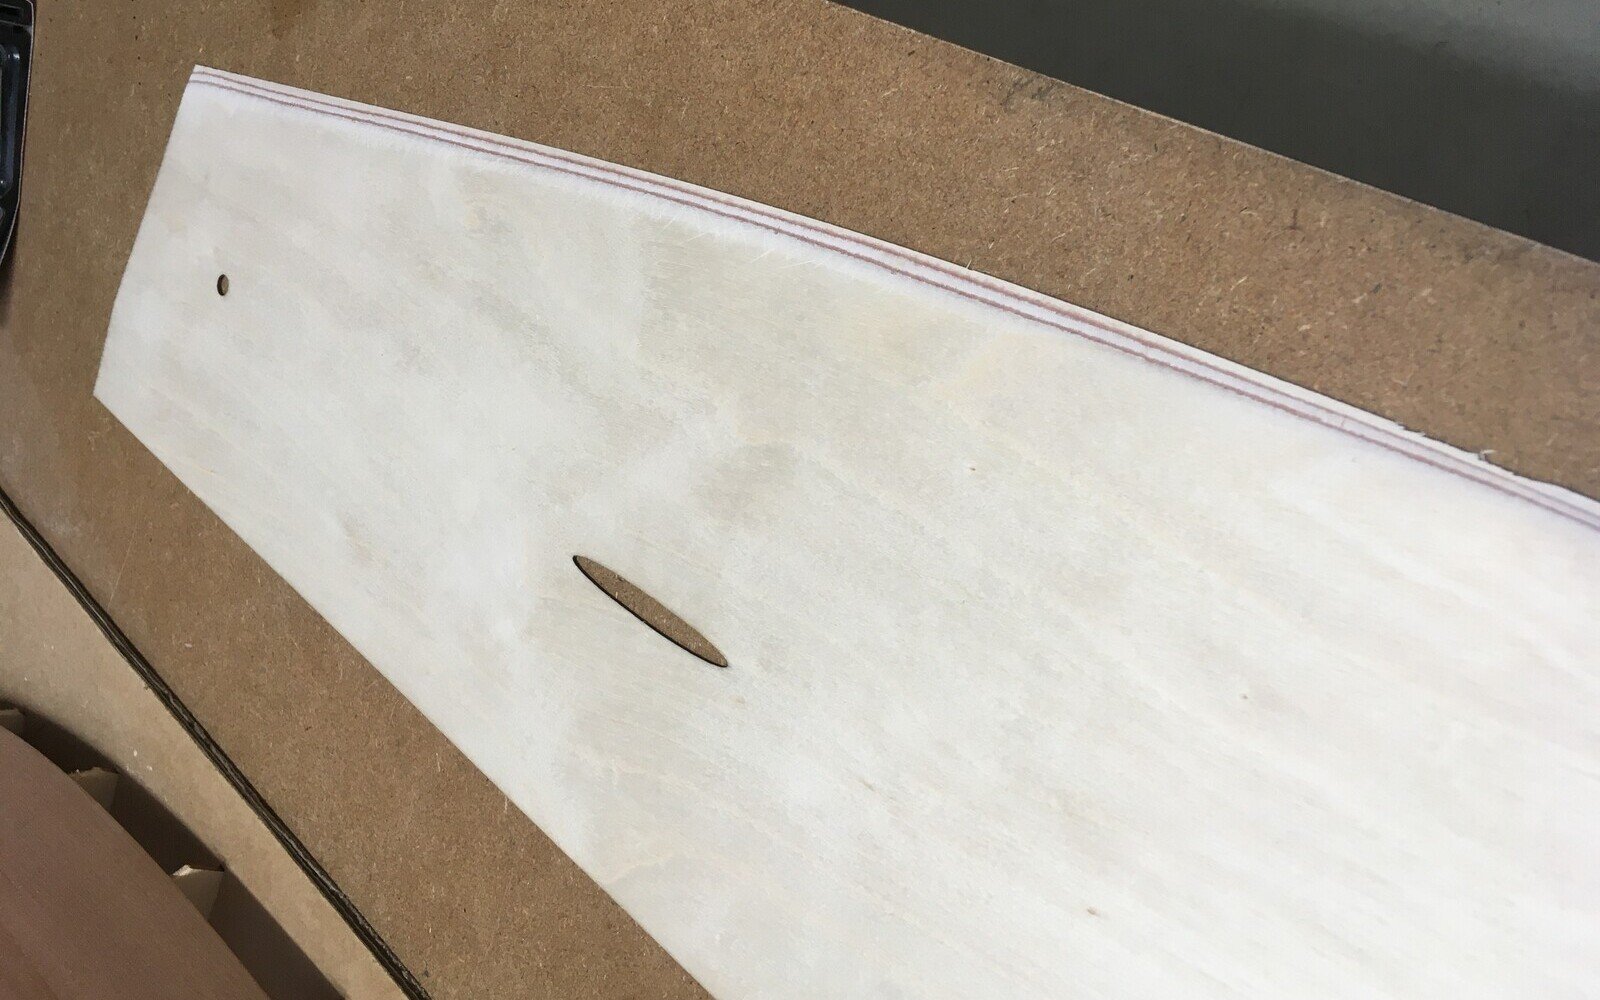
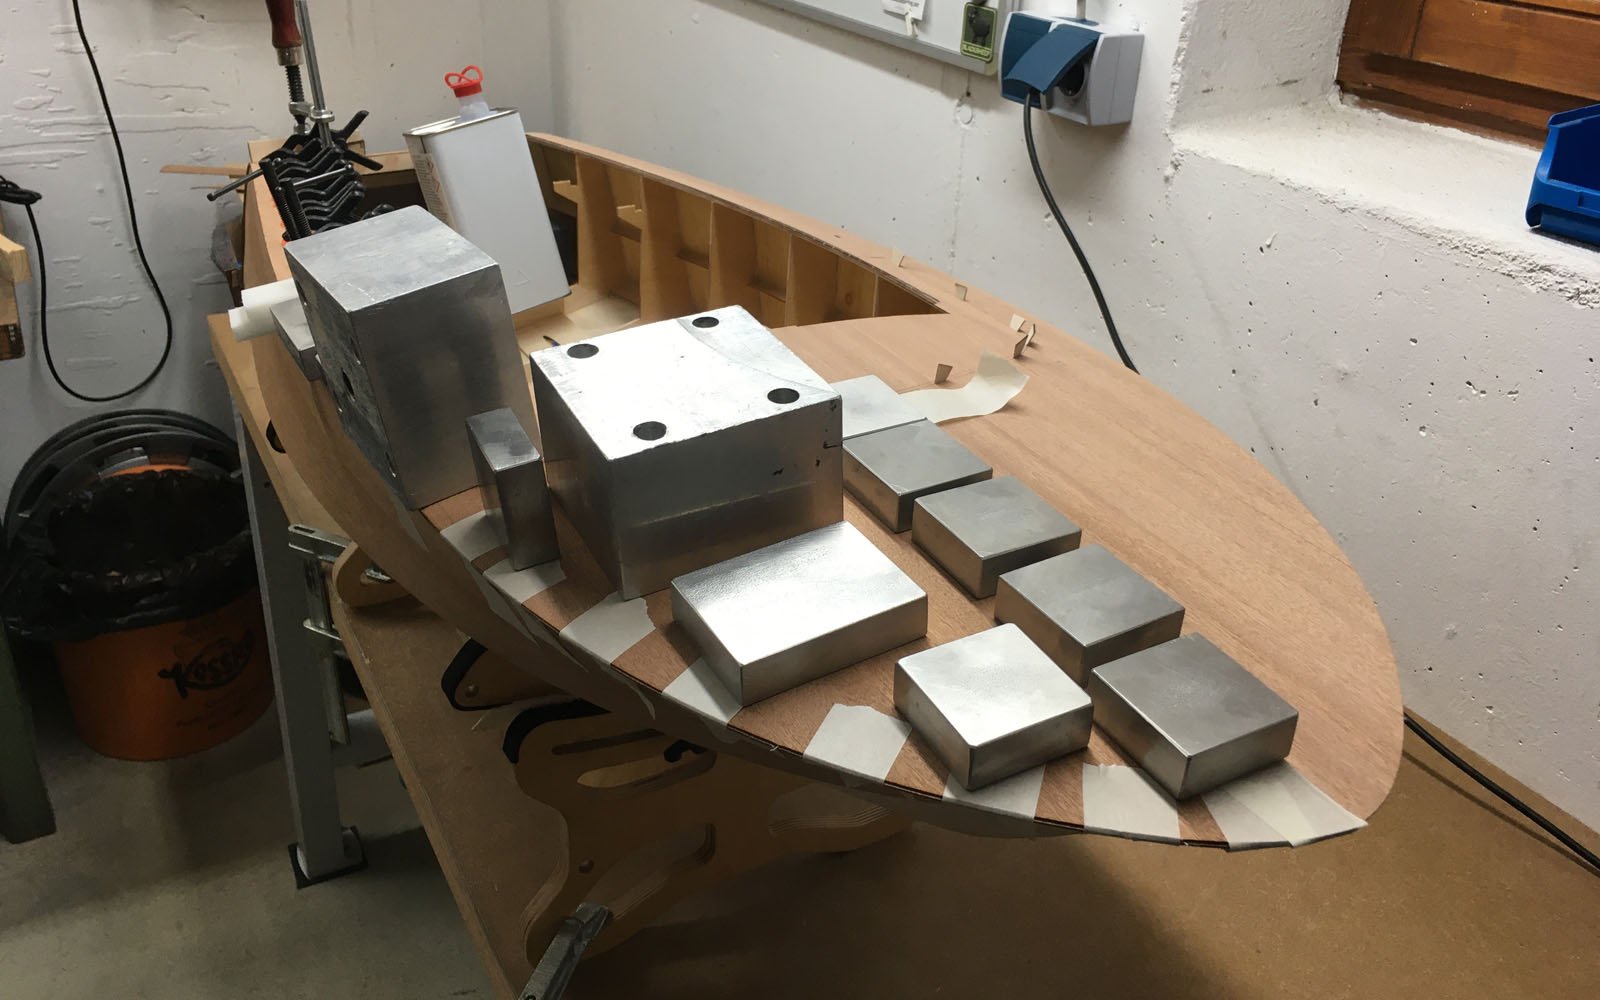
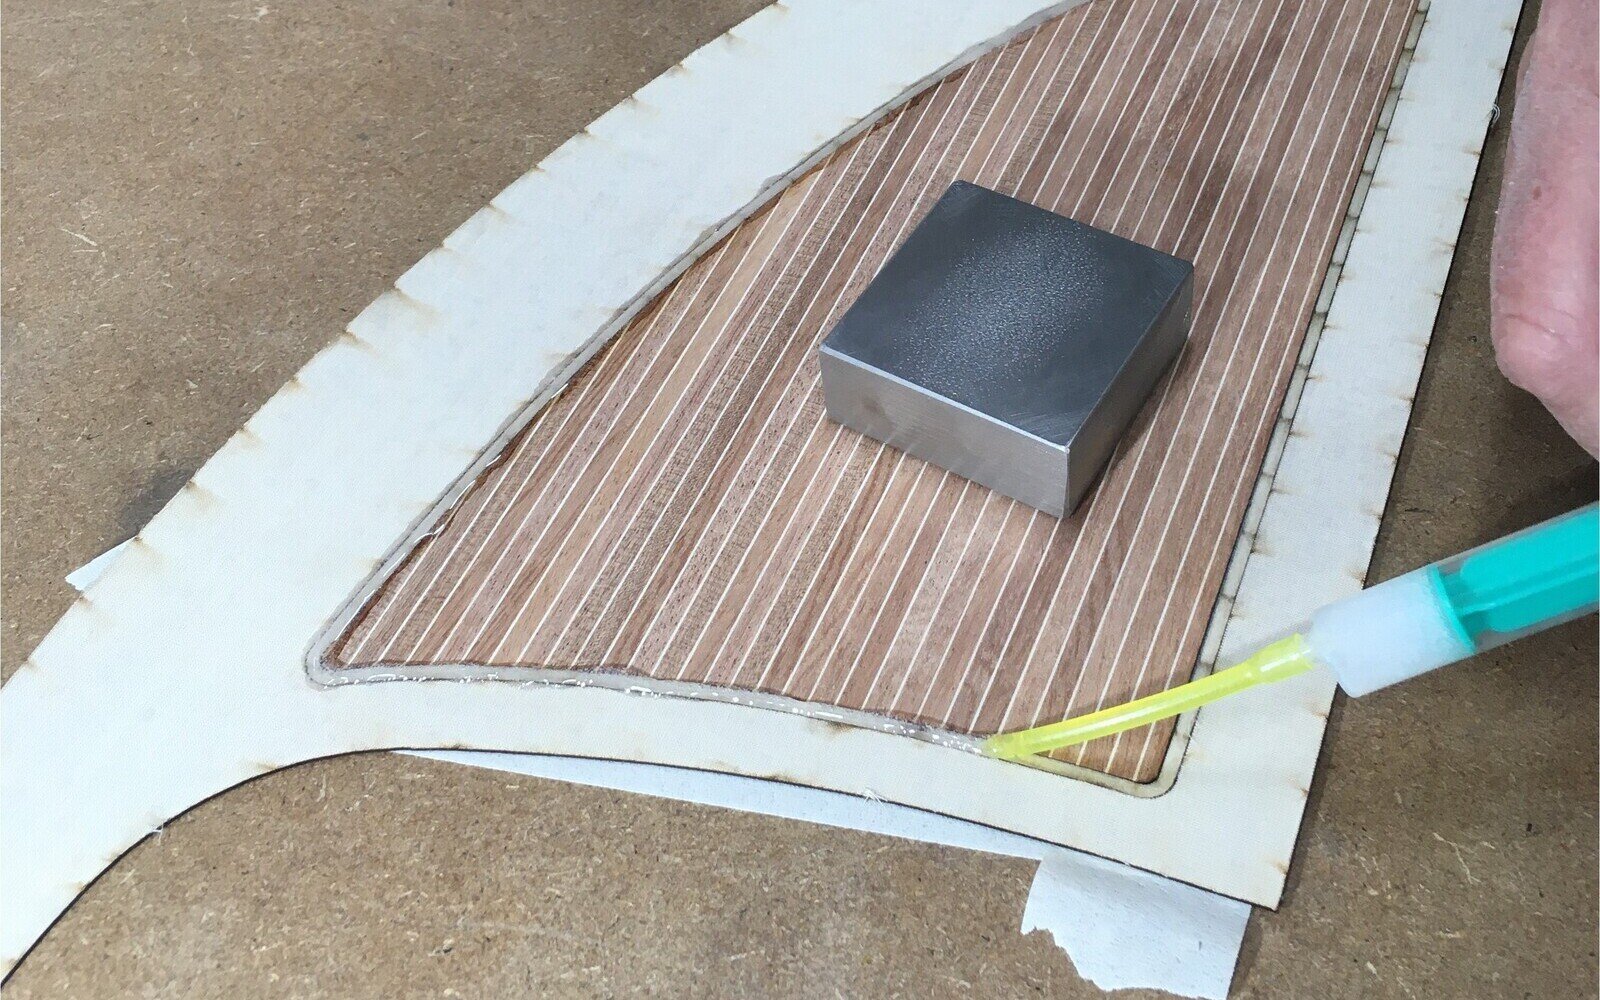
As described by aero-naut, we placed the inlays into the top layer and bonded them on the underside with a two-component adhesive (our resin). As everything should ultimately be nicely flush, we laid cling film over it and weighed it down properly while it cured. We let this dry for a good day and then, as mentioned, laminated it onto the second layer with resin. With a great result, we think.
Schöner Bericht über dieses geniale Boot. Ich selbst baute bisher nur von in gfk bzw cfk und hätte mal Bock was aus Holz zu bauen. Gibt es zu diesem Boot einen Bericht mit 2 Jet Antrieben? Denn so würde ich sie gerne aufbauen da sich der Rumpf dafür anbieten würde. Hat jemand von euch Erfahrung mit solchem Vorhaben?
Da ich ebenfalls gerade am Bau der Comtesse bin, würde mich der weitere Verlauf Eures Baus durchaus interessieren. Wie ging es denn nun weiter?
PS: Welche Gundert Wellenanlage ist es denn genau,. und wo bekomme ich diese her?
Grüße Michael
Guter Beitrag… ich habe schon eine Prinzess von Aeronaut gebaut, da kann ich einige Punkte bestätigen. Aber im großen und ganzen sind die Bausätze ganz ok.
Stephan
Super Hammer Beschreibung!!
Weiter so!! Bin schon so gespannt!!
HenrikDaniela
Sehr sehr gute Beschreibung mit vielen guten Tipps! Danke!!!
Ich baue die Comtesse auch gerade, gibt es denn noch einen weiteren Baubericht???
Wäre toll!
Liebe Grüße! Christian
Has this sparked your interest? Then head here: Part 2